


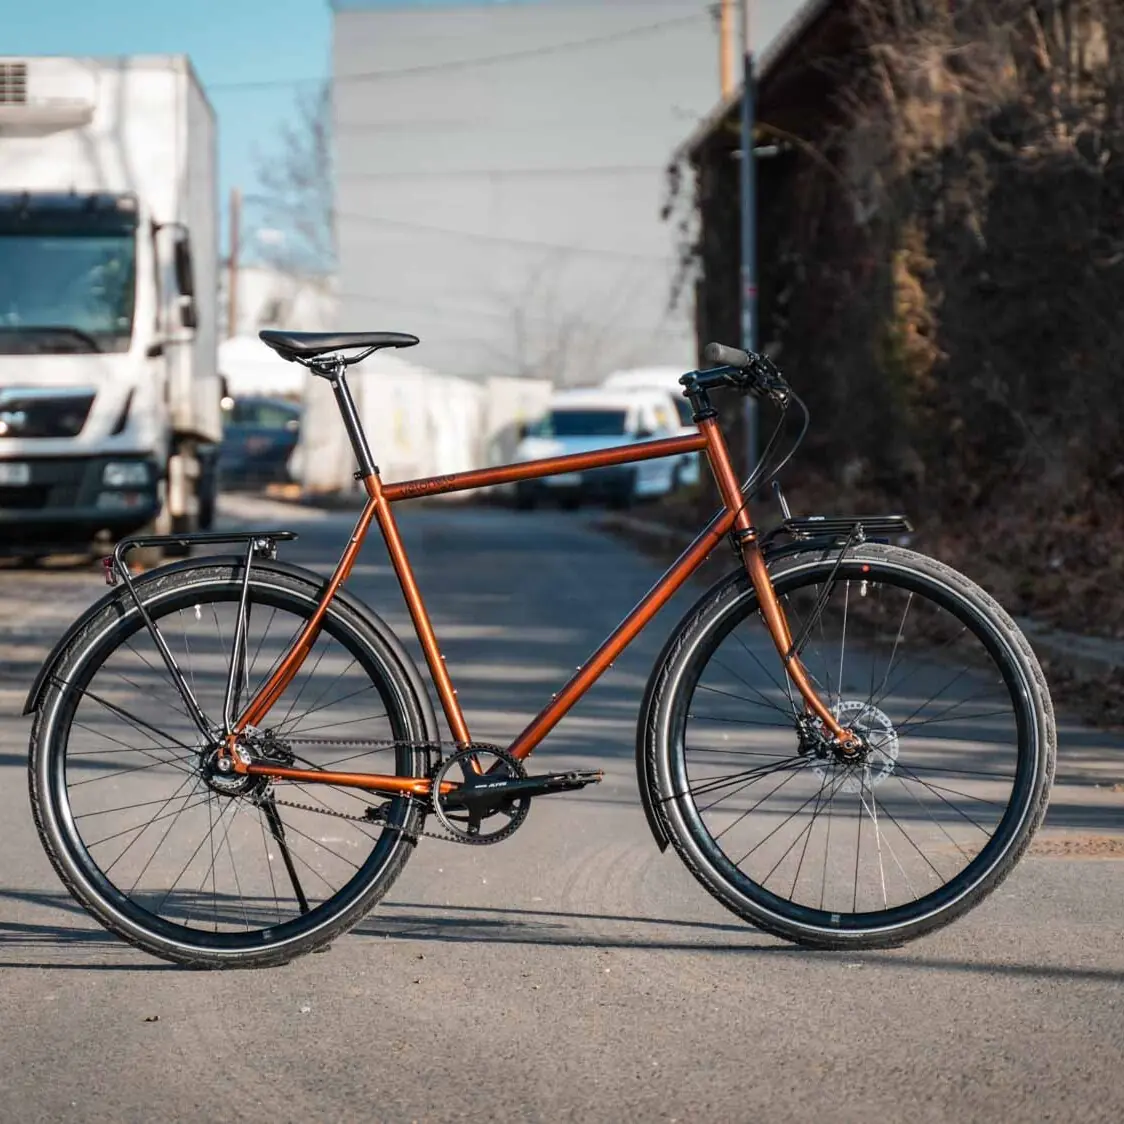
Congratulations on your new veloheld frameset – and welcome to the family! With your new frame, you have chosen the perfect basis for your customised dream bike. To ensure that everything runs smoothly, here are the most important tips to help you with assembly and maintenance. But one thing is clear: building a frameset requires a little know-how and the right tools. If you’re unsure, it’s better to visit a professional bike workshop – your bike will thank you for it. Now let’s get down to business, we hope you have fun setting it up and wish you many unforgettable kilometres with your new companion!
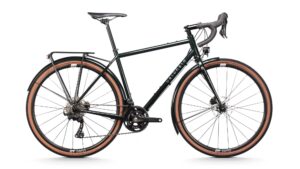
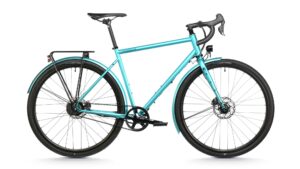
Frameset
The frame and fork are ready for assembly when purchased directly from veloheld, i.e. the threads are cut and the bearing seats and seat tube are reamed out. It is not necessary to rework the frame for further assembly.The accessory pack contains all the necessary screws and threaded inserts for all threads on the frame, which you can mount as required. 1x or 2x cable guide inserts for the down tube are also included and can be installed depending on the shifting configuration. Fit all other attachments to the frame using high-quality assembly grease and the appropriate torques with a torque wrench. This prevents corrosion and even after years of use, these parts can still be properly dismantled.

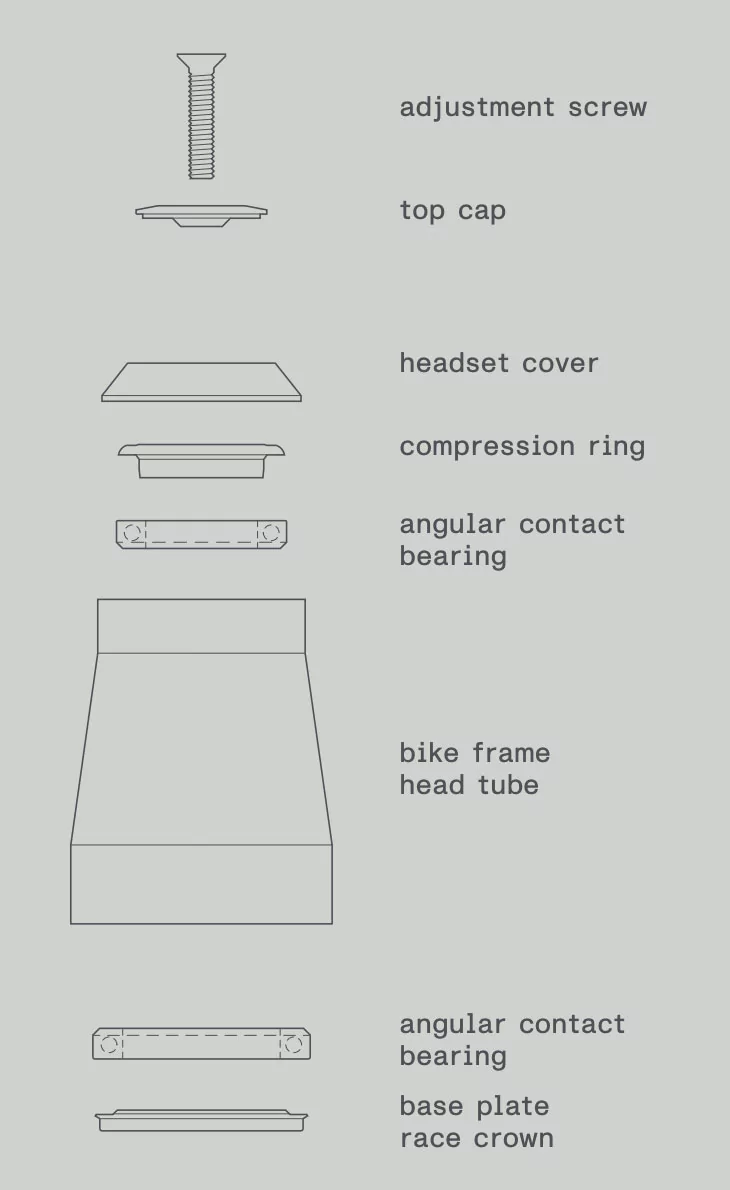
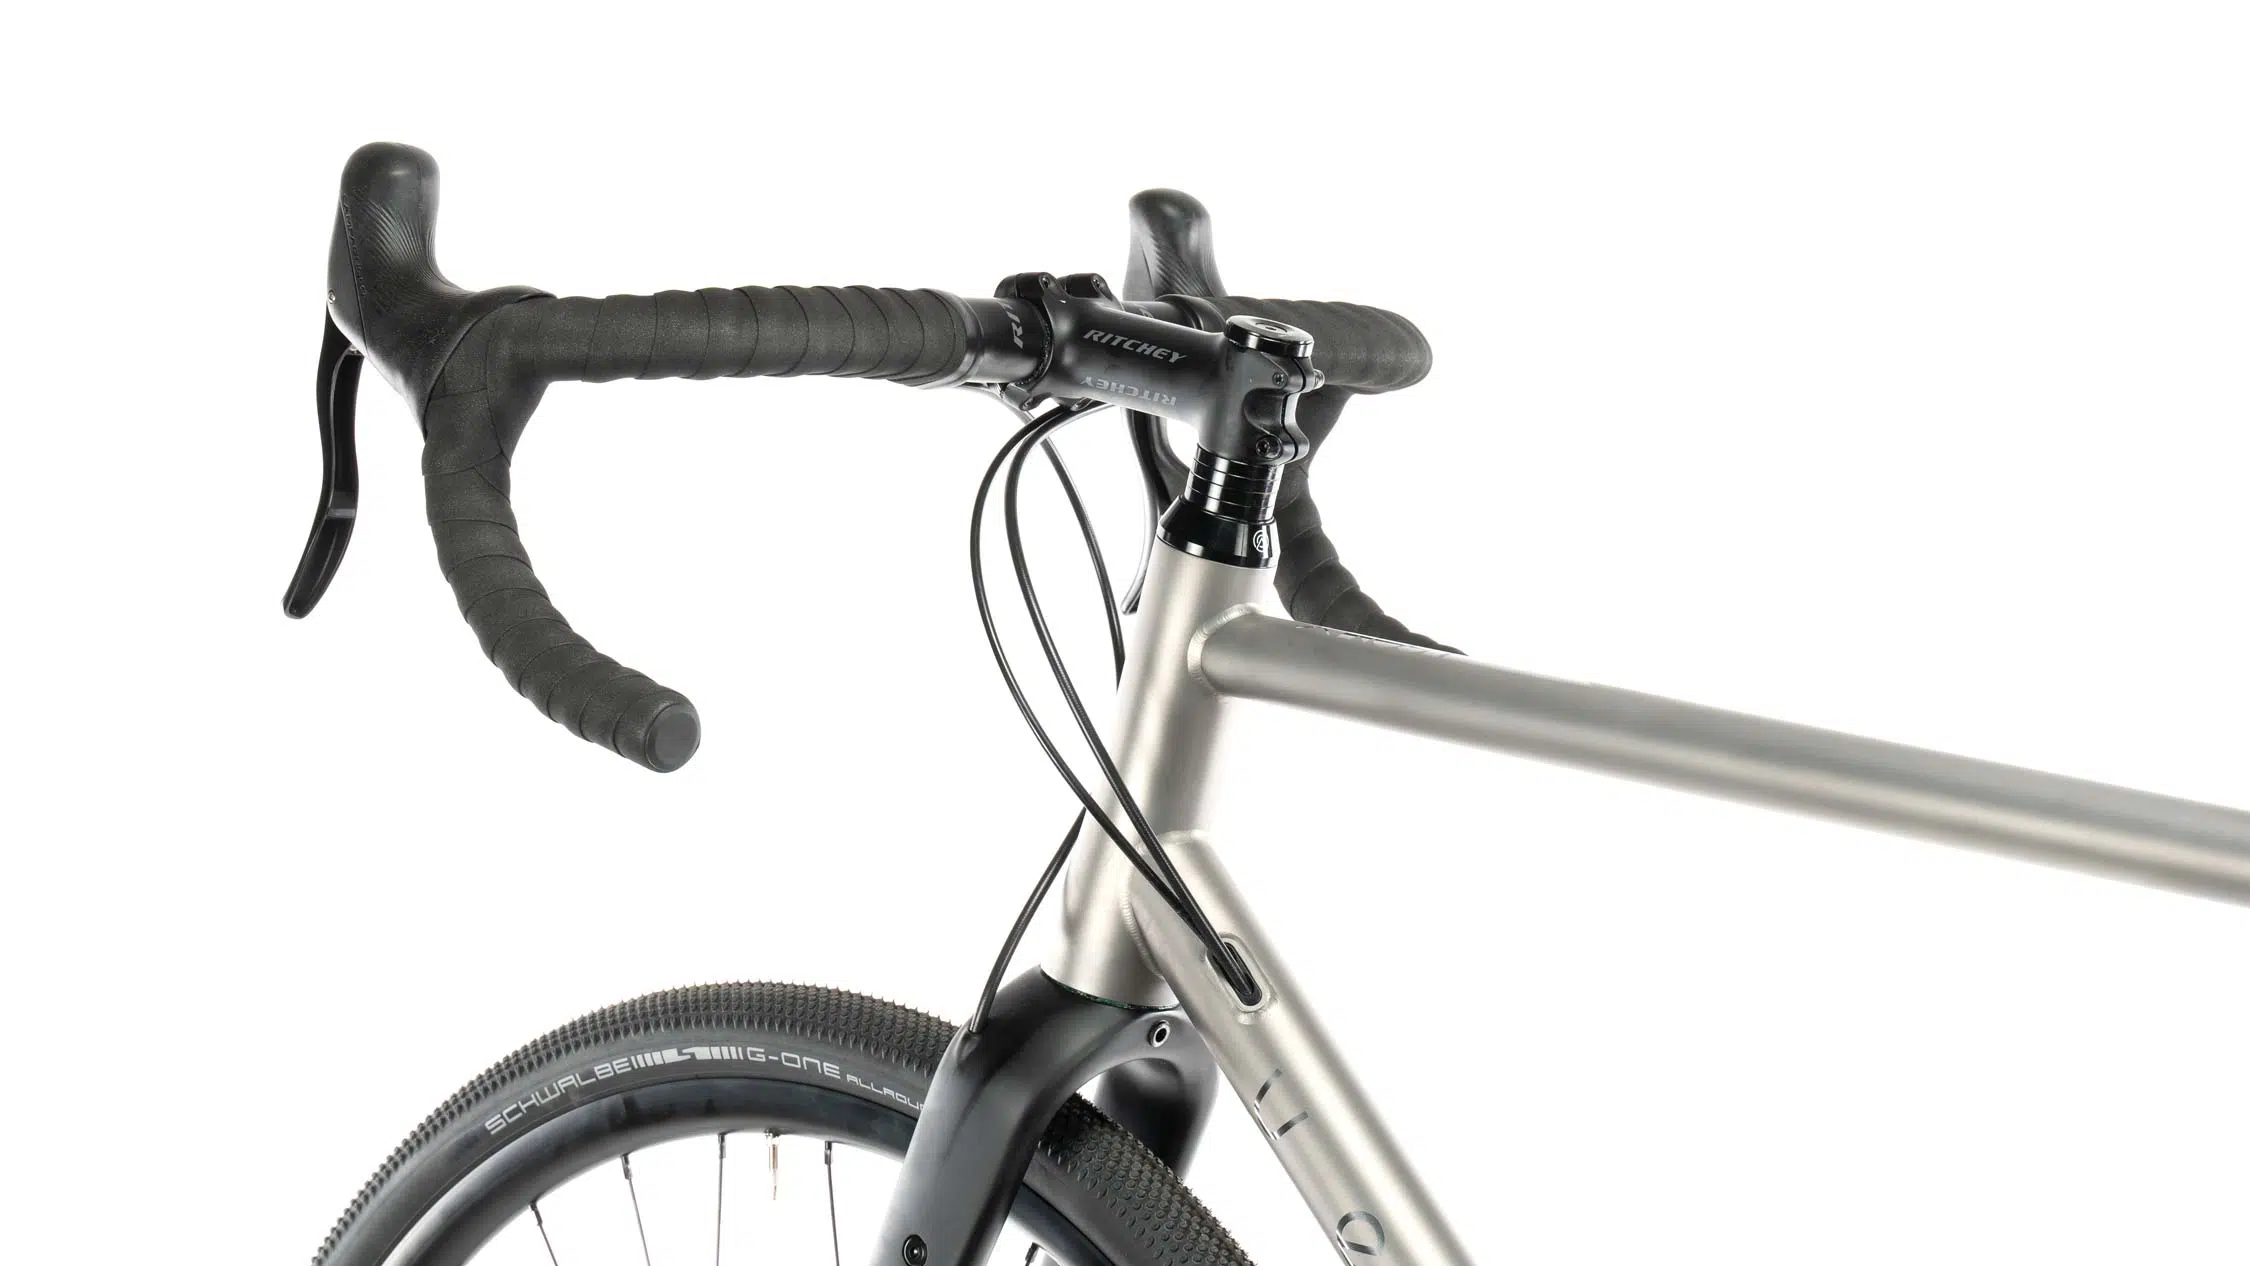
Fork and headset
The fork is supplied with the bike and must be inserted after shortening the steerer tube to the desired stem height. The individual parts of the headset are included with the frame and must be finally assembled when mounting the fork.
Attention
If in doubt, please ask a professional bike store to help you shorten the fork if you do not have the necessary knowledge and special tools. This is the only way to get the right length and ensure the safety of the steerer tube.
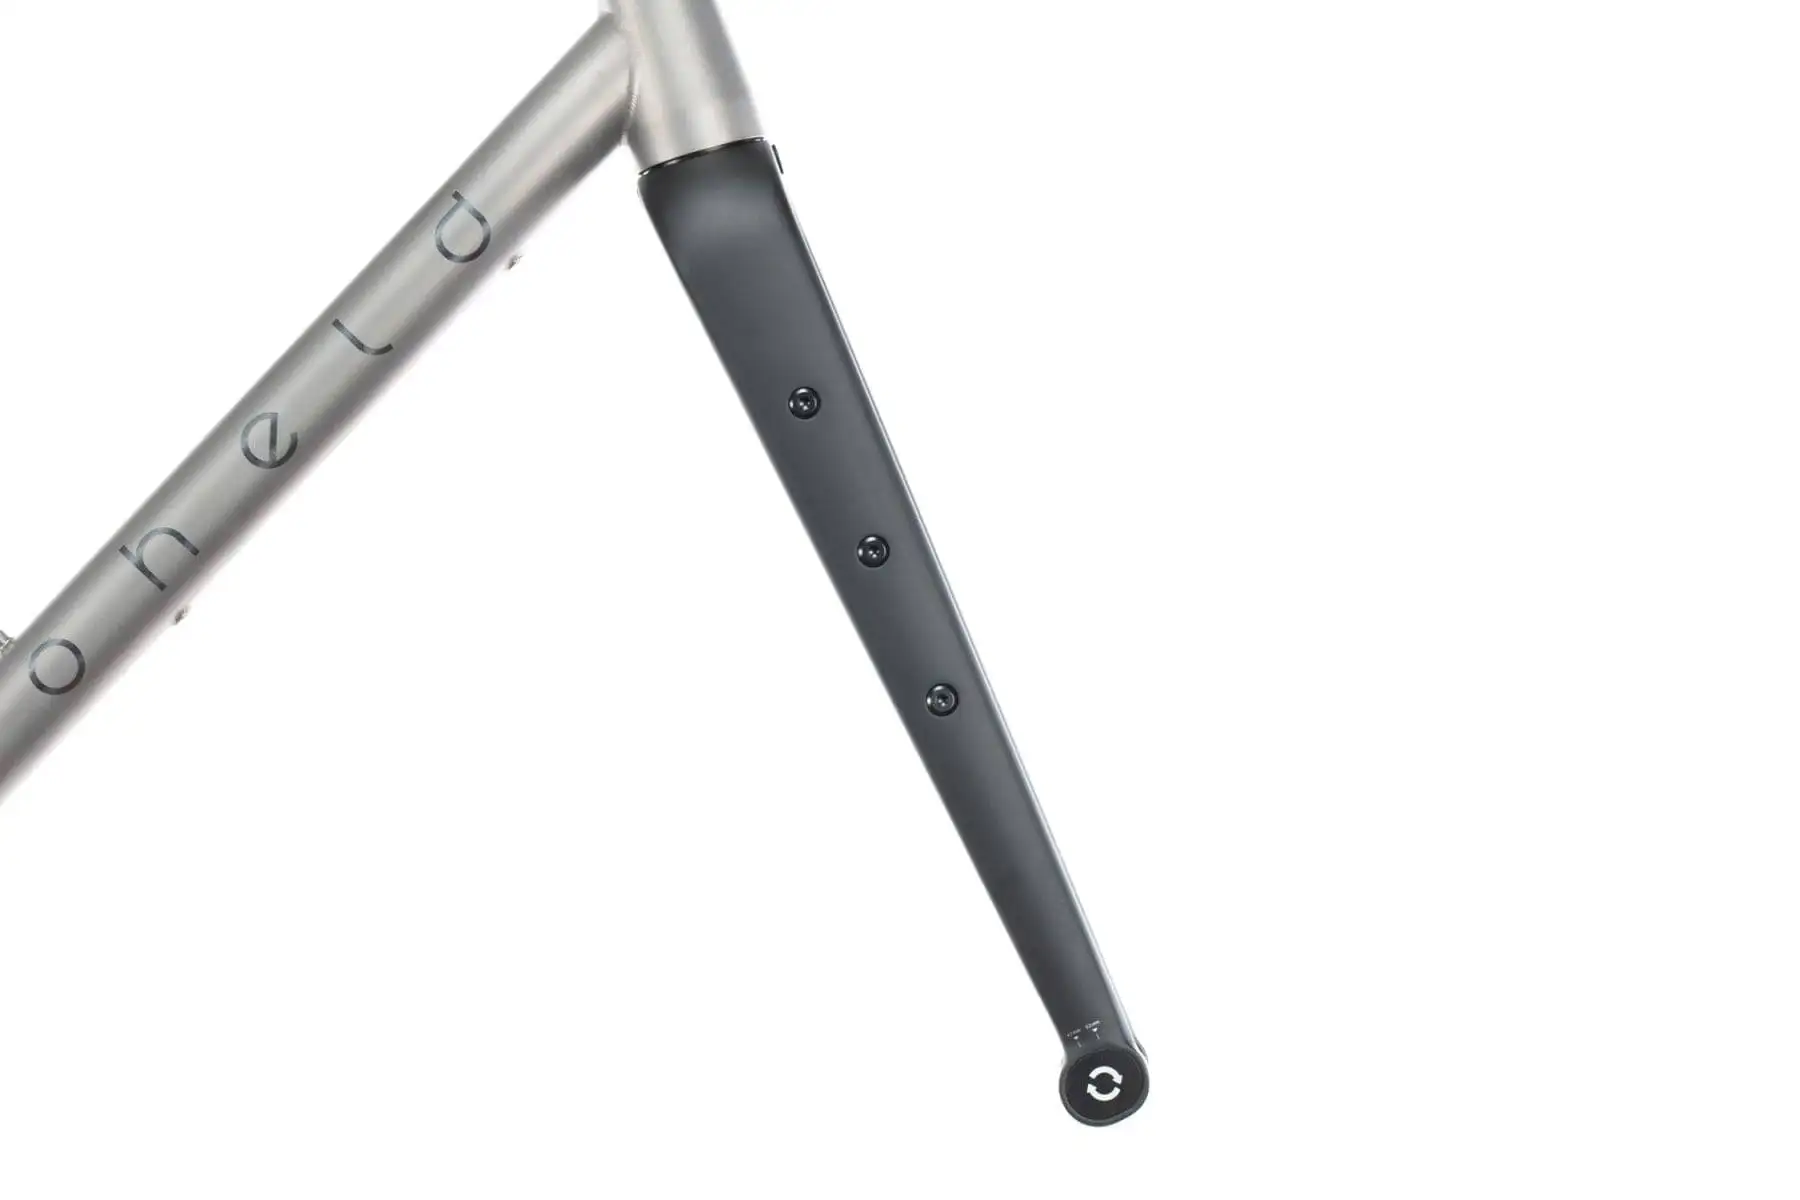
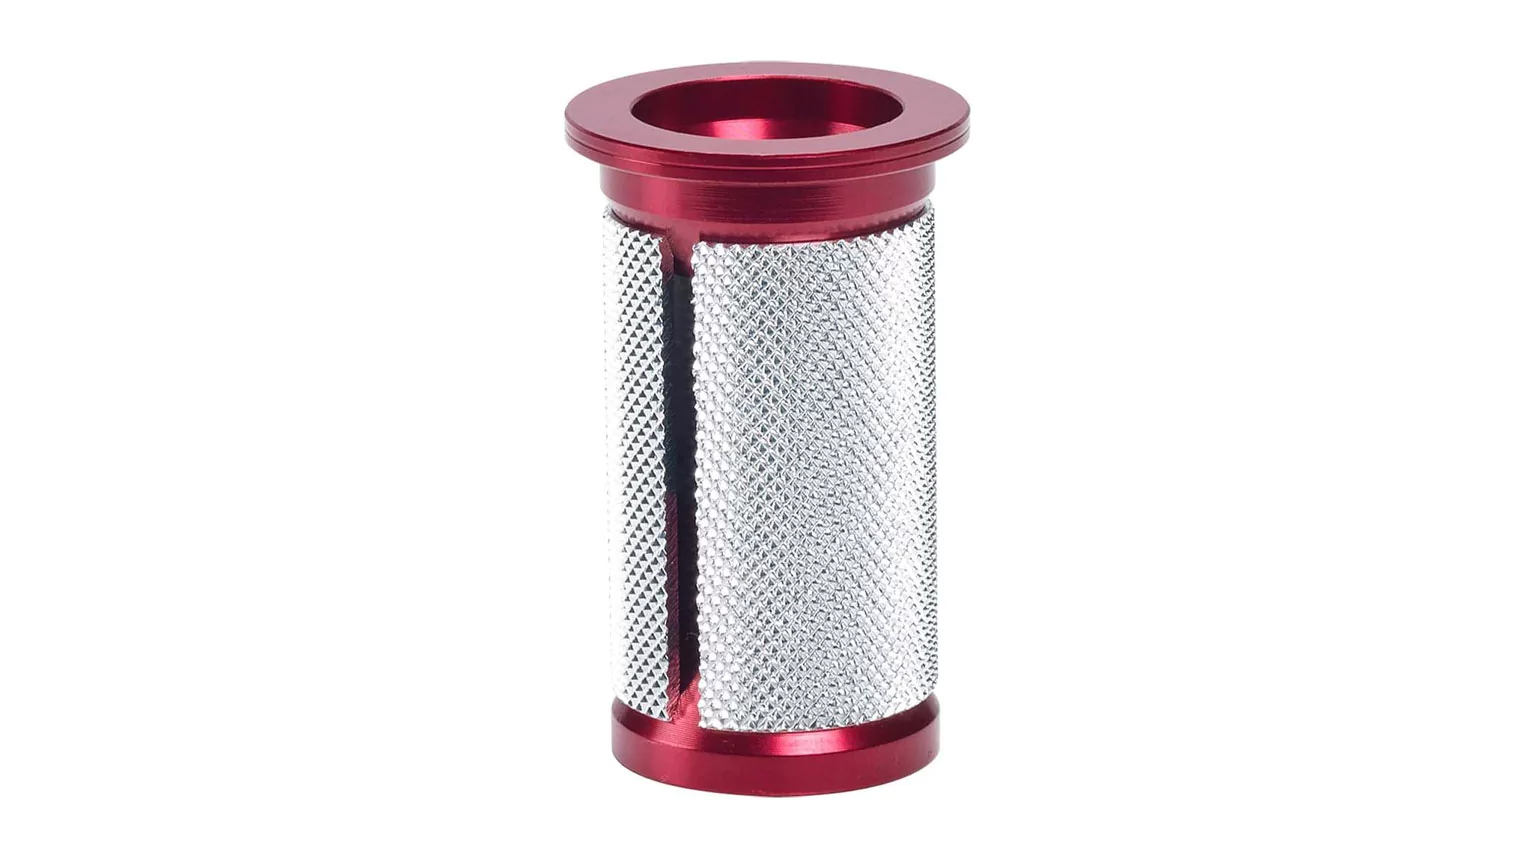
Assembly with the carbon fork supplied
Insert the supplied expander into the carbon steerer tube and tighten it with a 6 mm Allen key and 4-6 Nm. This allows you to mount the fork with your stem securely and without play in the headset.
Attention
The stem must be mounted on the carbon steerer tube with carbon mounting paste. Never use normal assembly grease for this.
Maximum number of spacers when using the carbon fork
When shortening the steerer tube of the carbon fork, please make sure to use a maximum of 35 mm spacers under the stem.
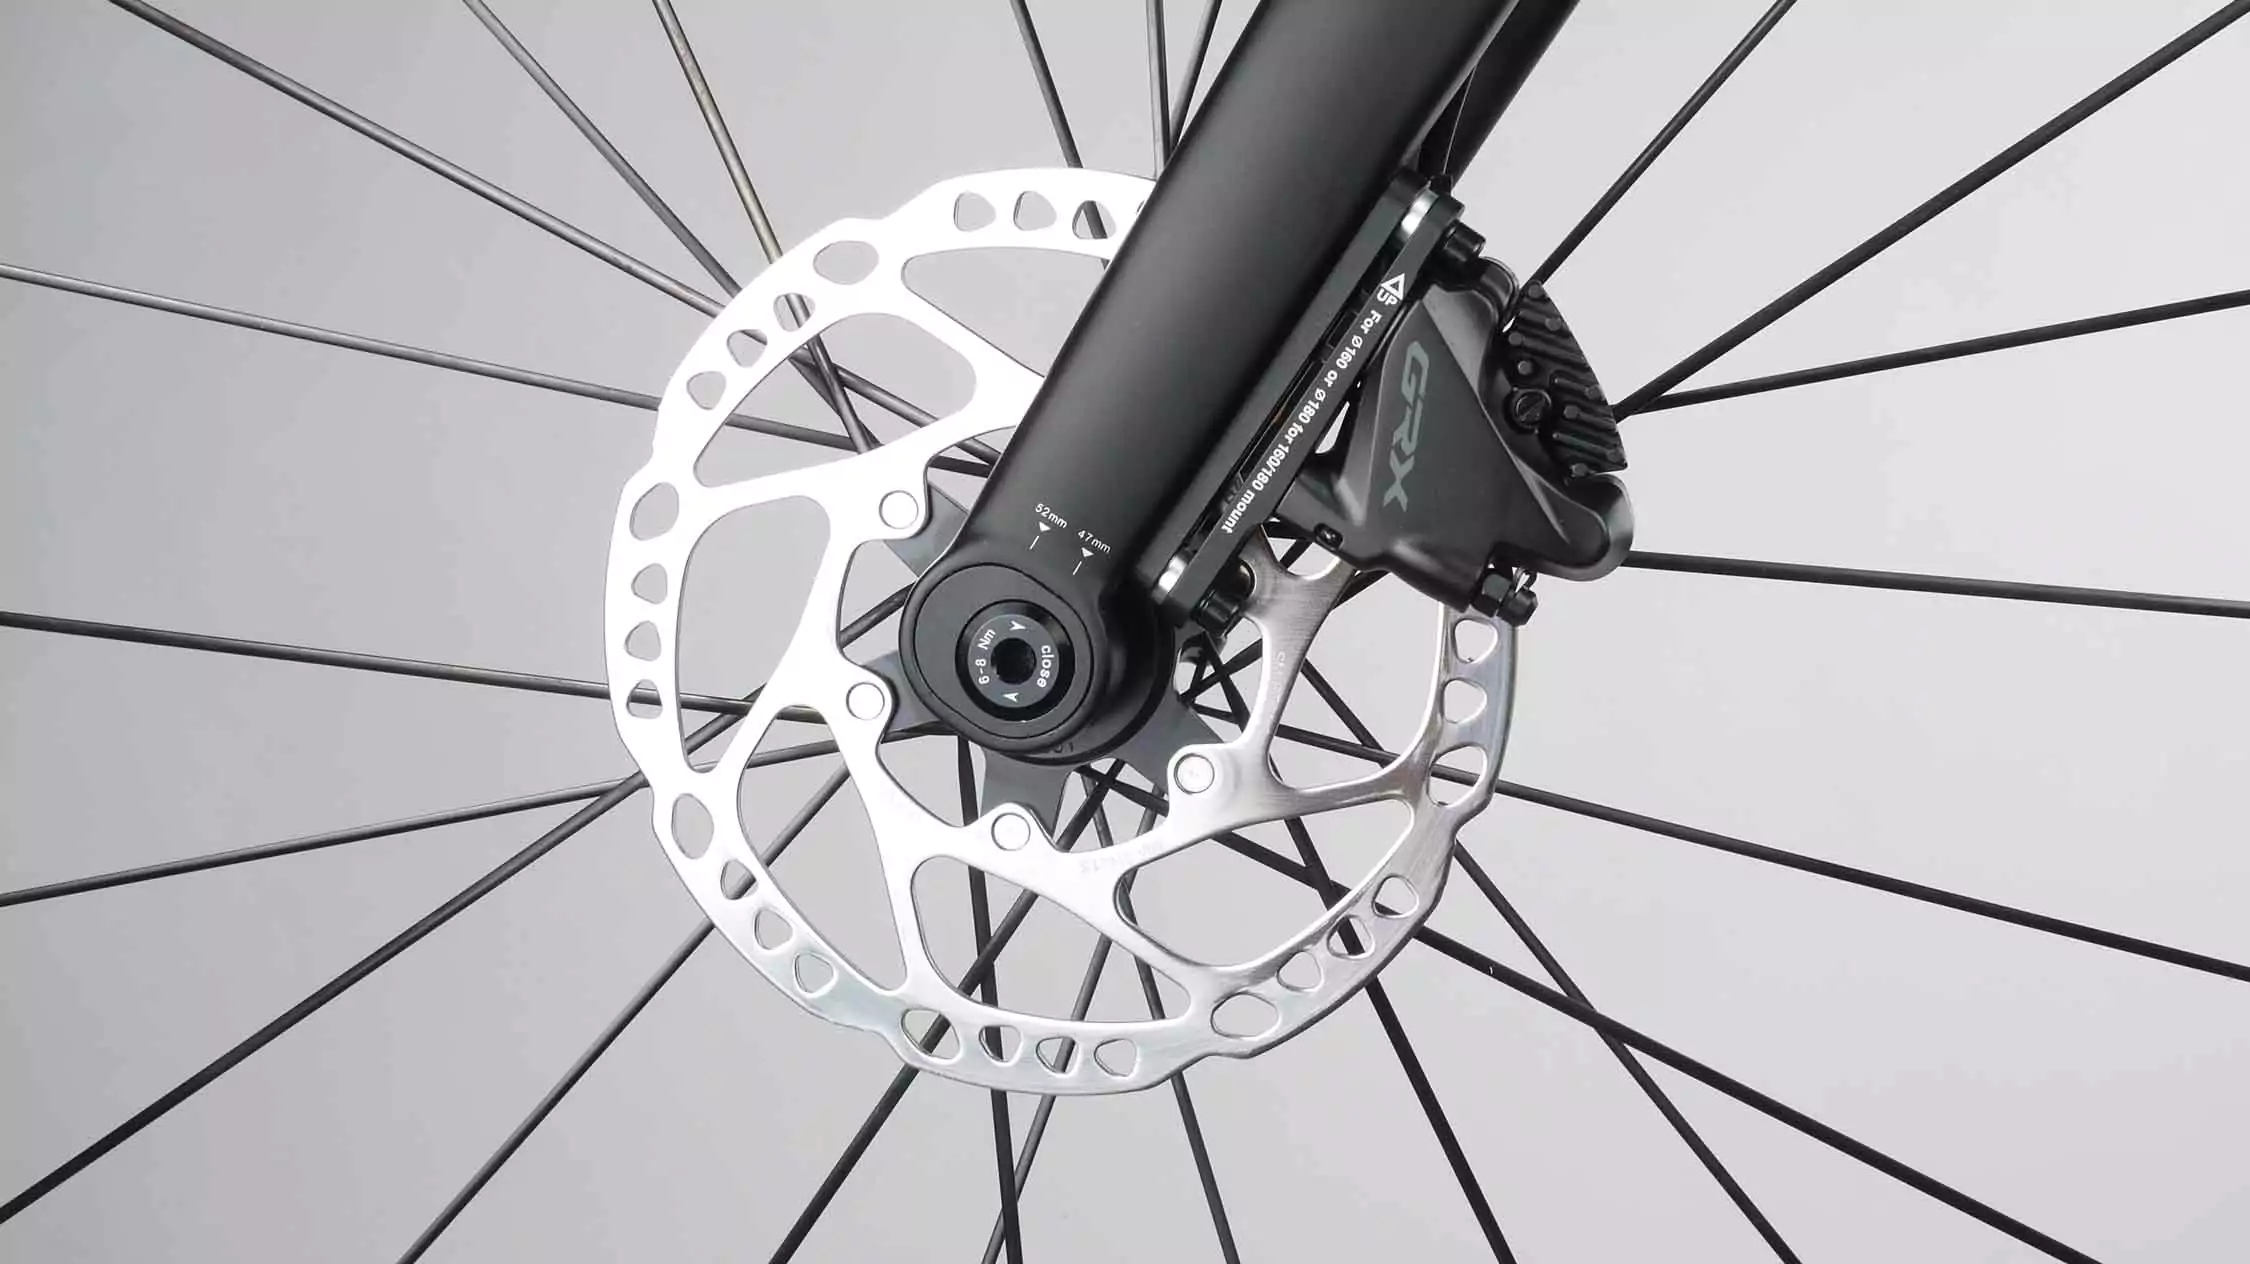
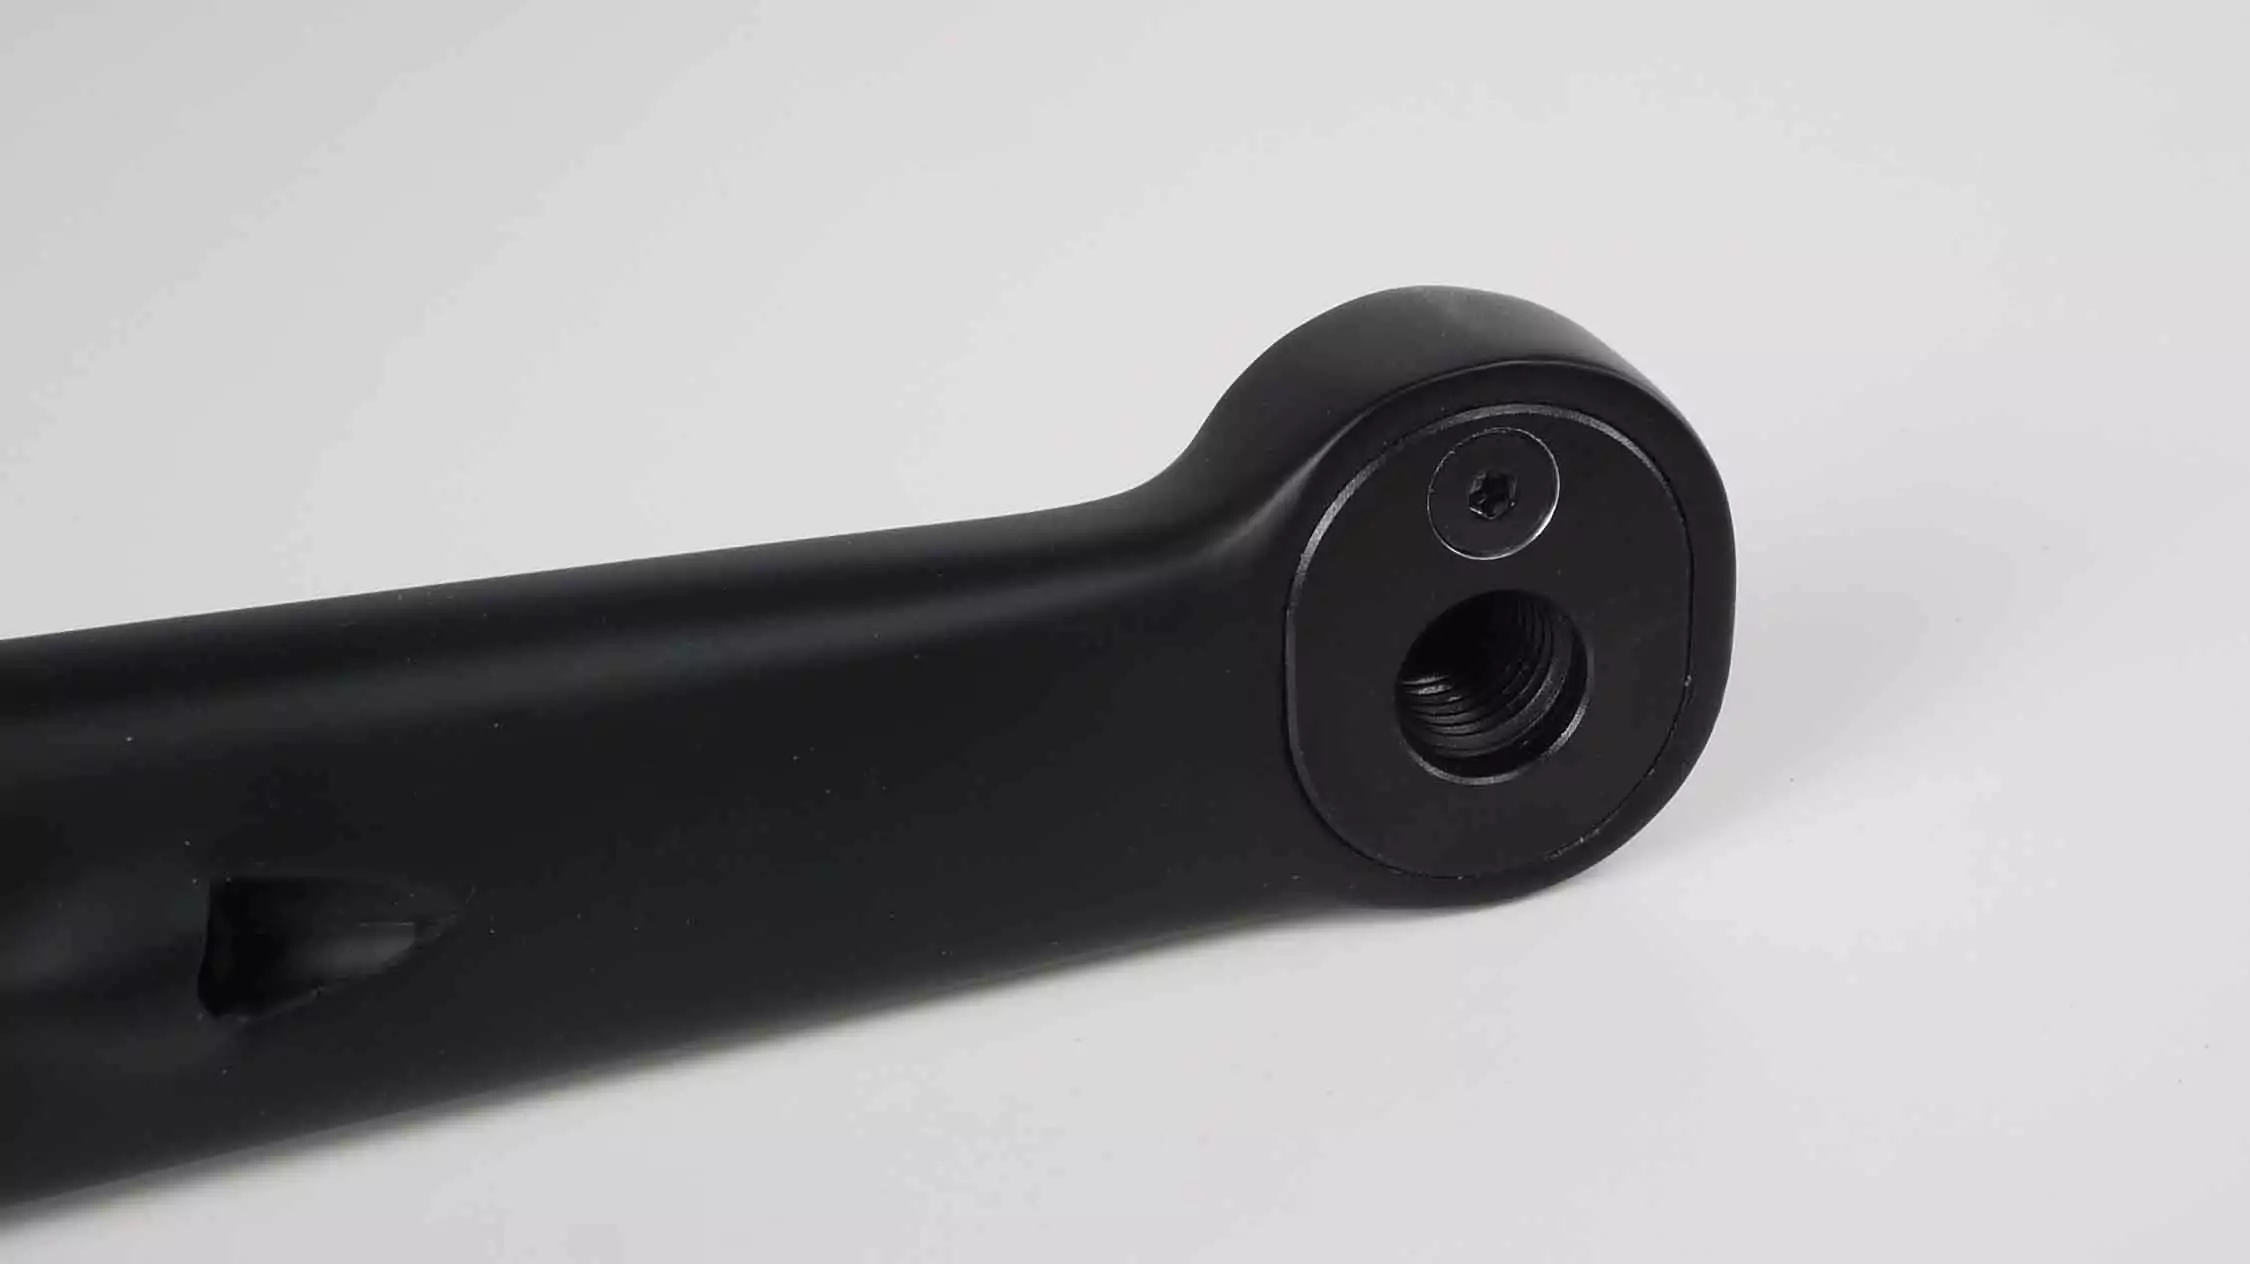
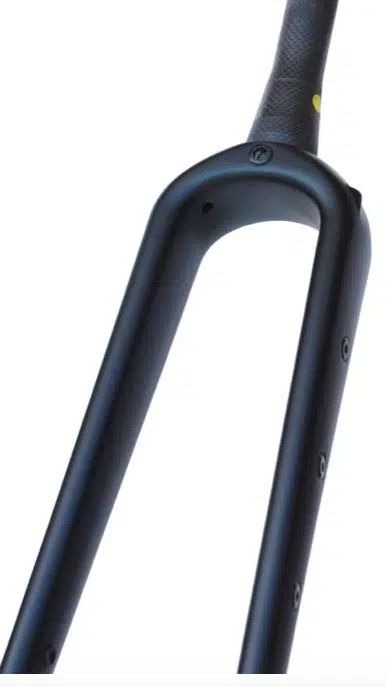
Notes on variable fork offset (47 or 52 mm)
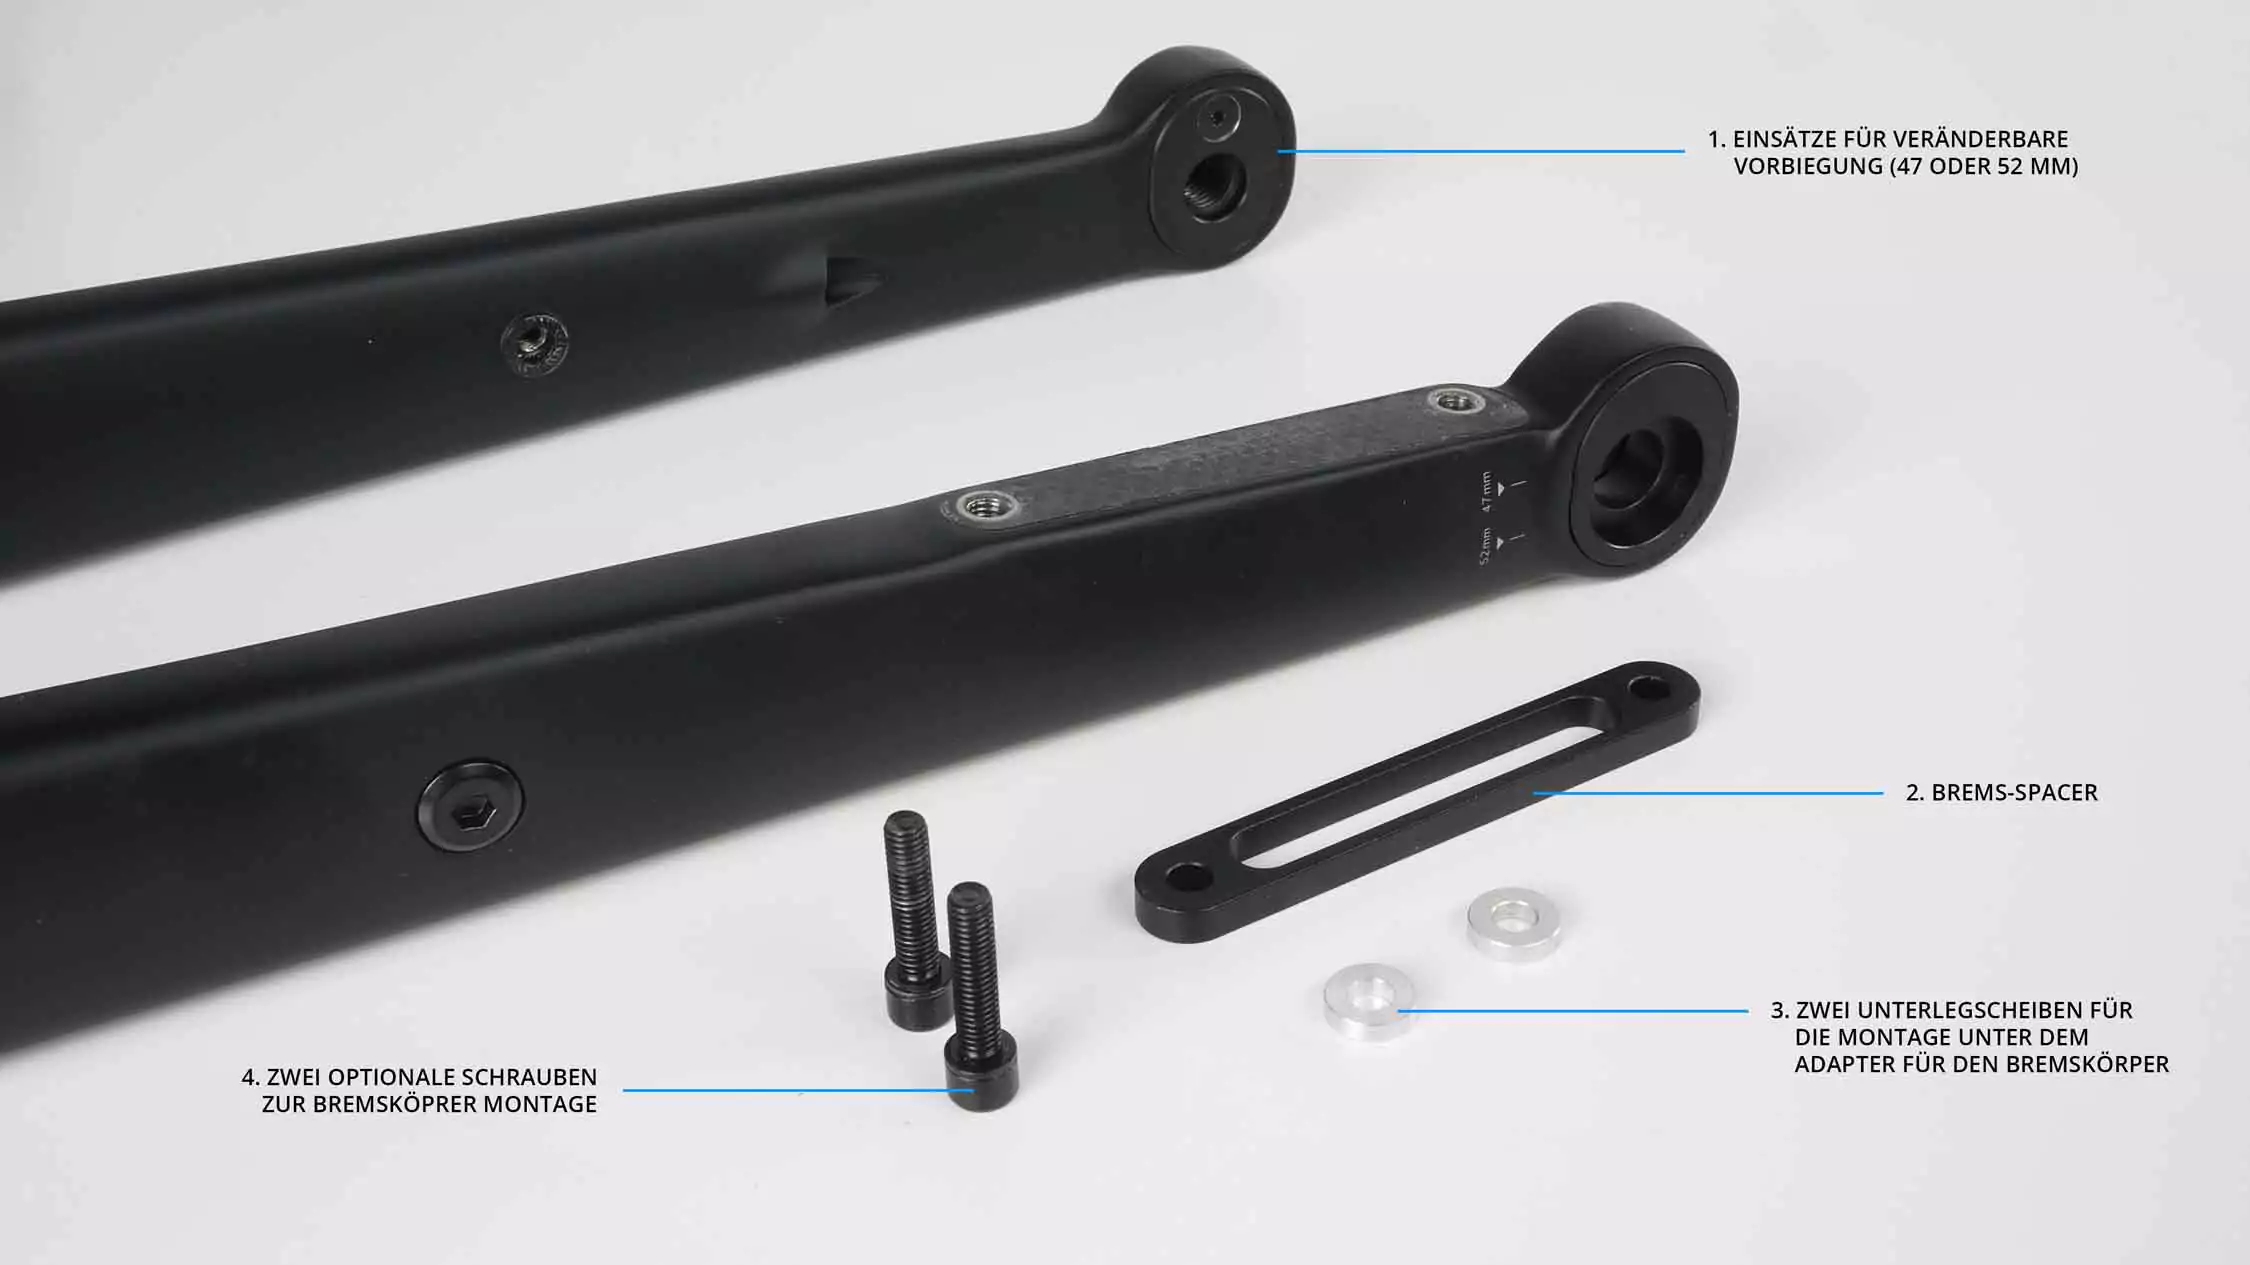
To change the riding characteristics, you can change the fork offset between 47 or 52 mm. To do this, the inserts in the dropouts must be rotated and a spacer must be installed under the brake adapter. We recommend 52 mm fork offset up to frame height M and 47 mm fork offset from L for a more balanced trail.

Attention
Maximum tightening torque of the insert screws: 4 Nm When installing the 47 mm leading edge, the brake spacer and the 2 washers must be installed first washers must be installed before installing the brake. The long bolts supplied must then be used to install the brake, if the original mounting bolts do not reach into the fork thread or do not reach far enough.
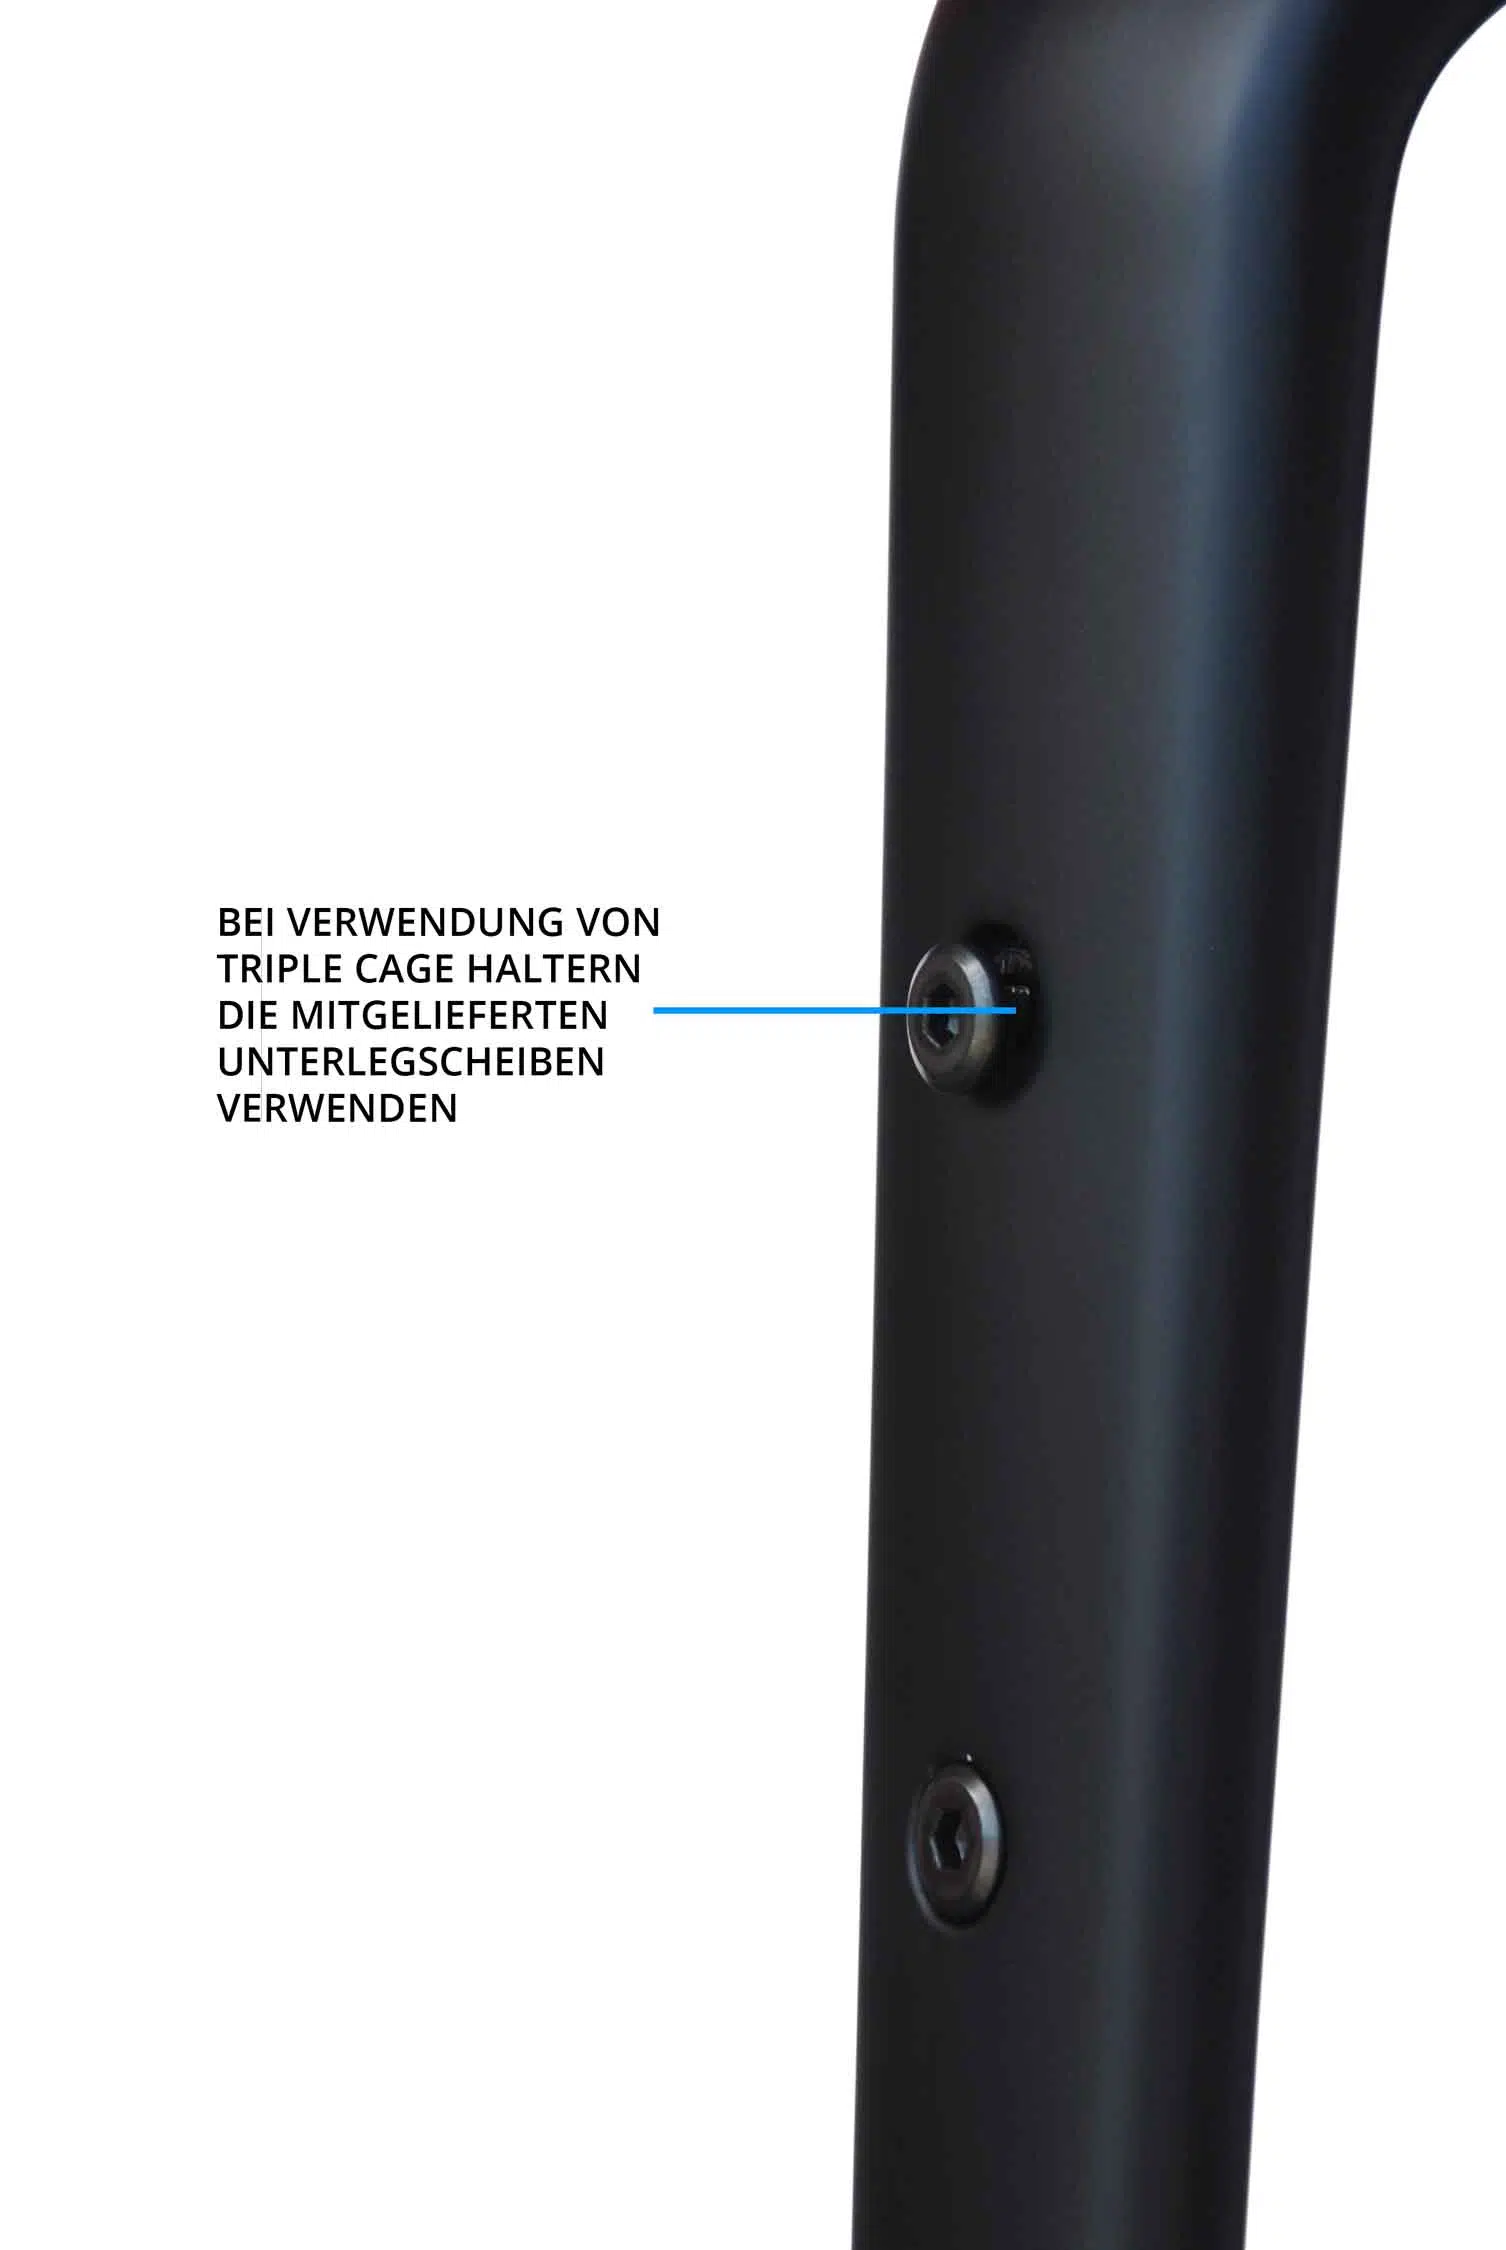
Notes Triple Cage threads
When using triple cage brackets , please be sure to use the washers supplied under the side bolts.
Attention
Maximum load capacity: 3 kg per fork side
Maximum tightening torque of the triple cage screws: 2.5 Nm
Notes on light cable guiding
The guides in the right-hand fork blade also make it possible to a light cable from the dynamo to the front light. It is best to use a threading aid made from an old Bowden cable or similar, if you have problems laying the cable.
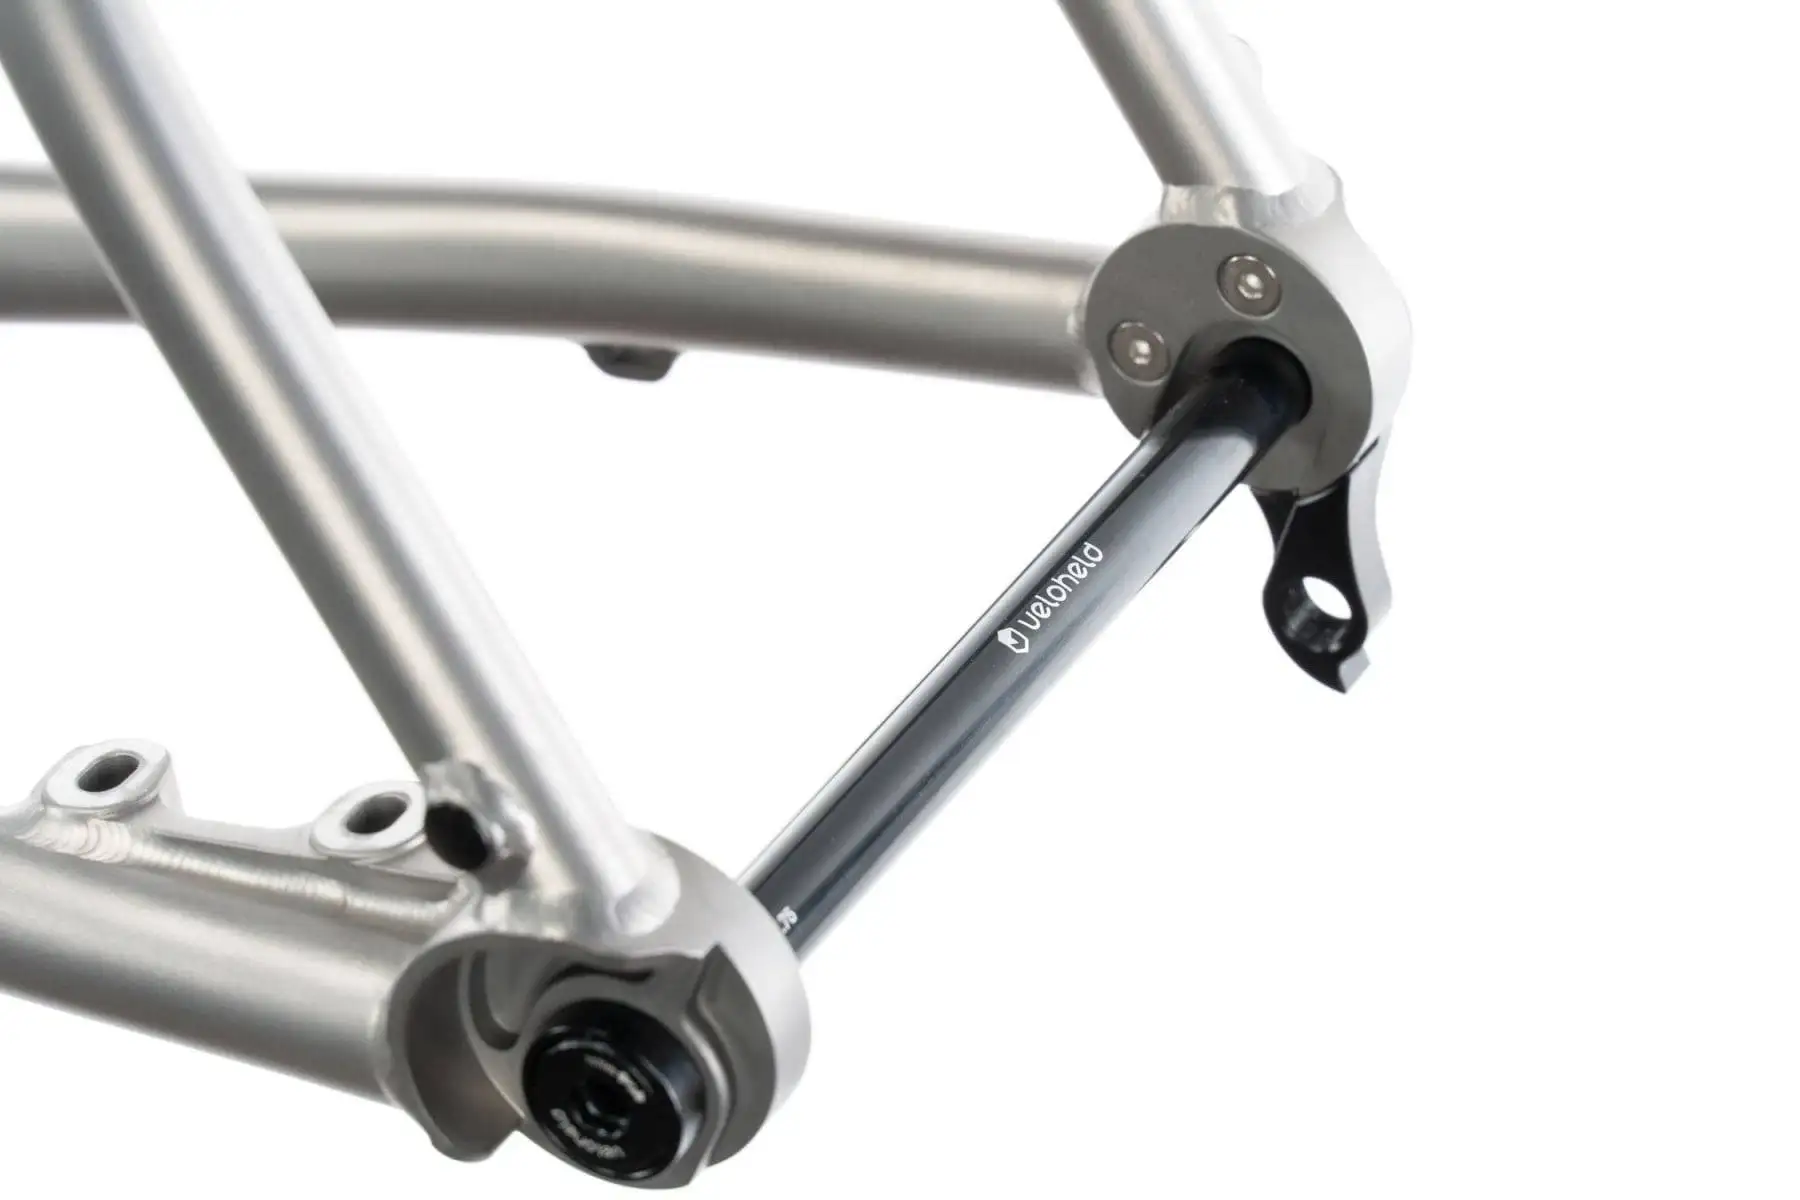
Axles
The 12 mm thru axles are included in the accessory pack or are already mounted in the frame. When installing the wheels, please observe the specified 10 Nm torque and apply some grease to the thread.
Attention
To avoid damaging the tool holder of the axles, always ensure that the 6 mm Allen key is correctly positioned (at least 8 mm deep) during assembly and disassembly.
Cable routing
Derailleur gears without front derailleur
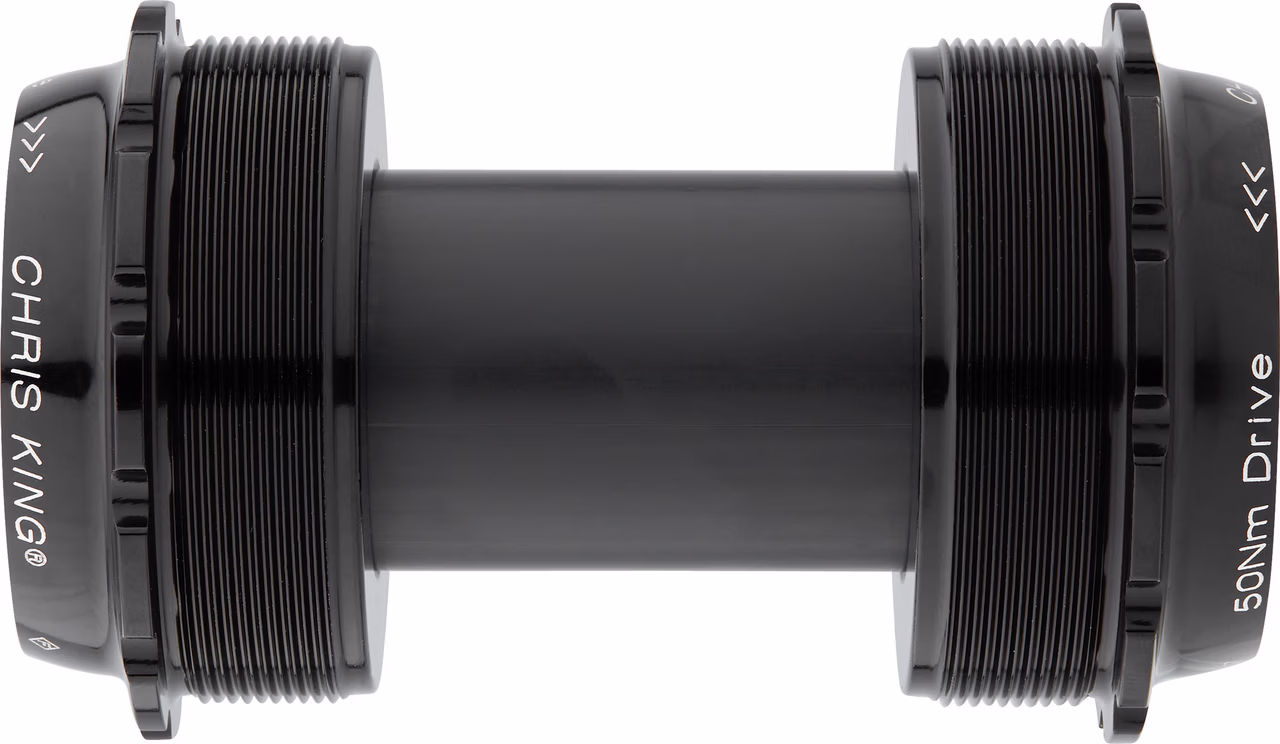
The rear derailleur cable and the brake cable can be routed internally in the down tube via the T47 bottom bracket through to the chainstays. The necessary frame guides for insertion into the down tube opening are included.
You are welcome to close unused threads with the plastic caps supplied.
Derailleur gears with front derailleur
You can route the rear shift cable and the brake cable internally in the down tube via the T47 bottom bracket through the chainstays and route the front shift cable externally through the supplied cable guides, which are screwed into the threads in the down tube with approx. 3 Nm. On Shimano front derailleurs, the counterholder/cable stopper is located directly on the front derailleur.
Attention
When routing the shift and brake cables through the bottom bracket, make sure that the cables are not kinked too much. The easiest way to do this is with a narrow bottom bracket sleeve for 24 mm Shimano axles.
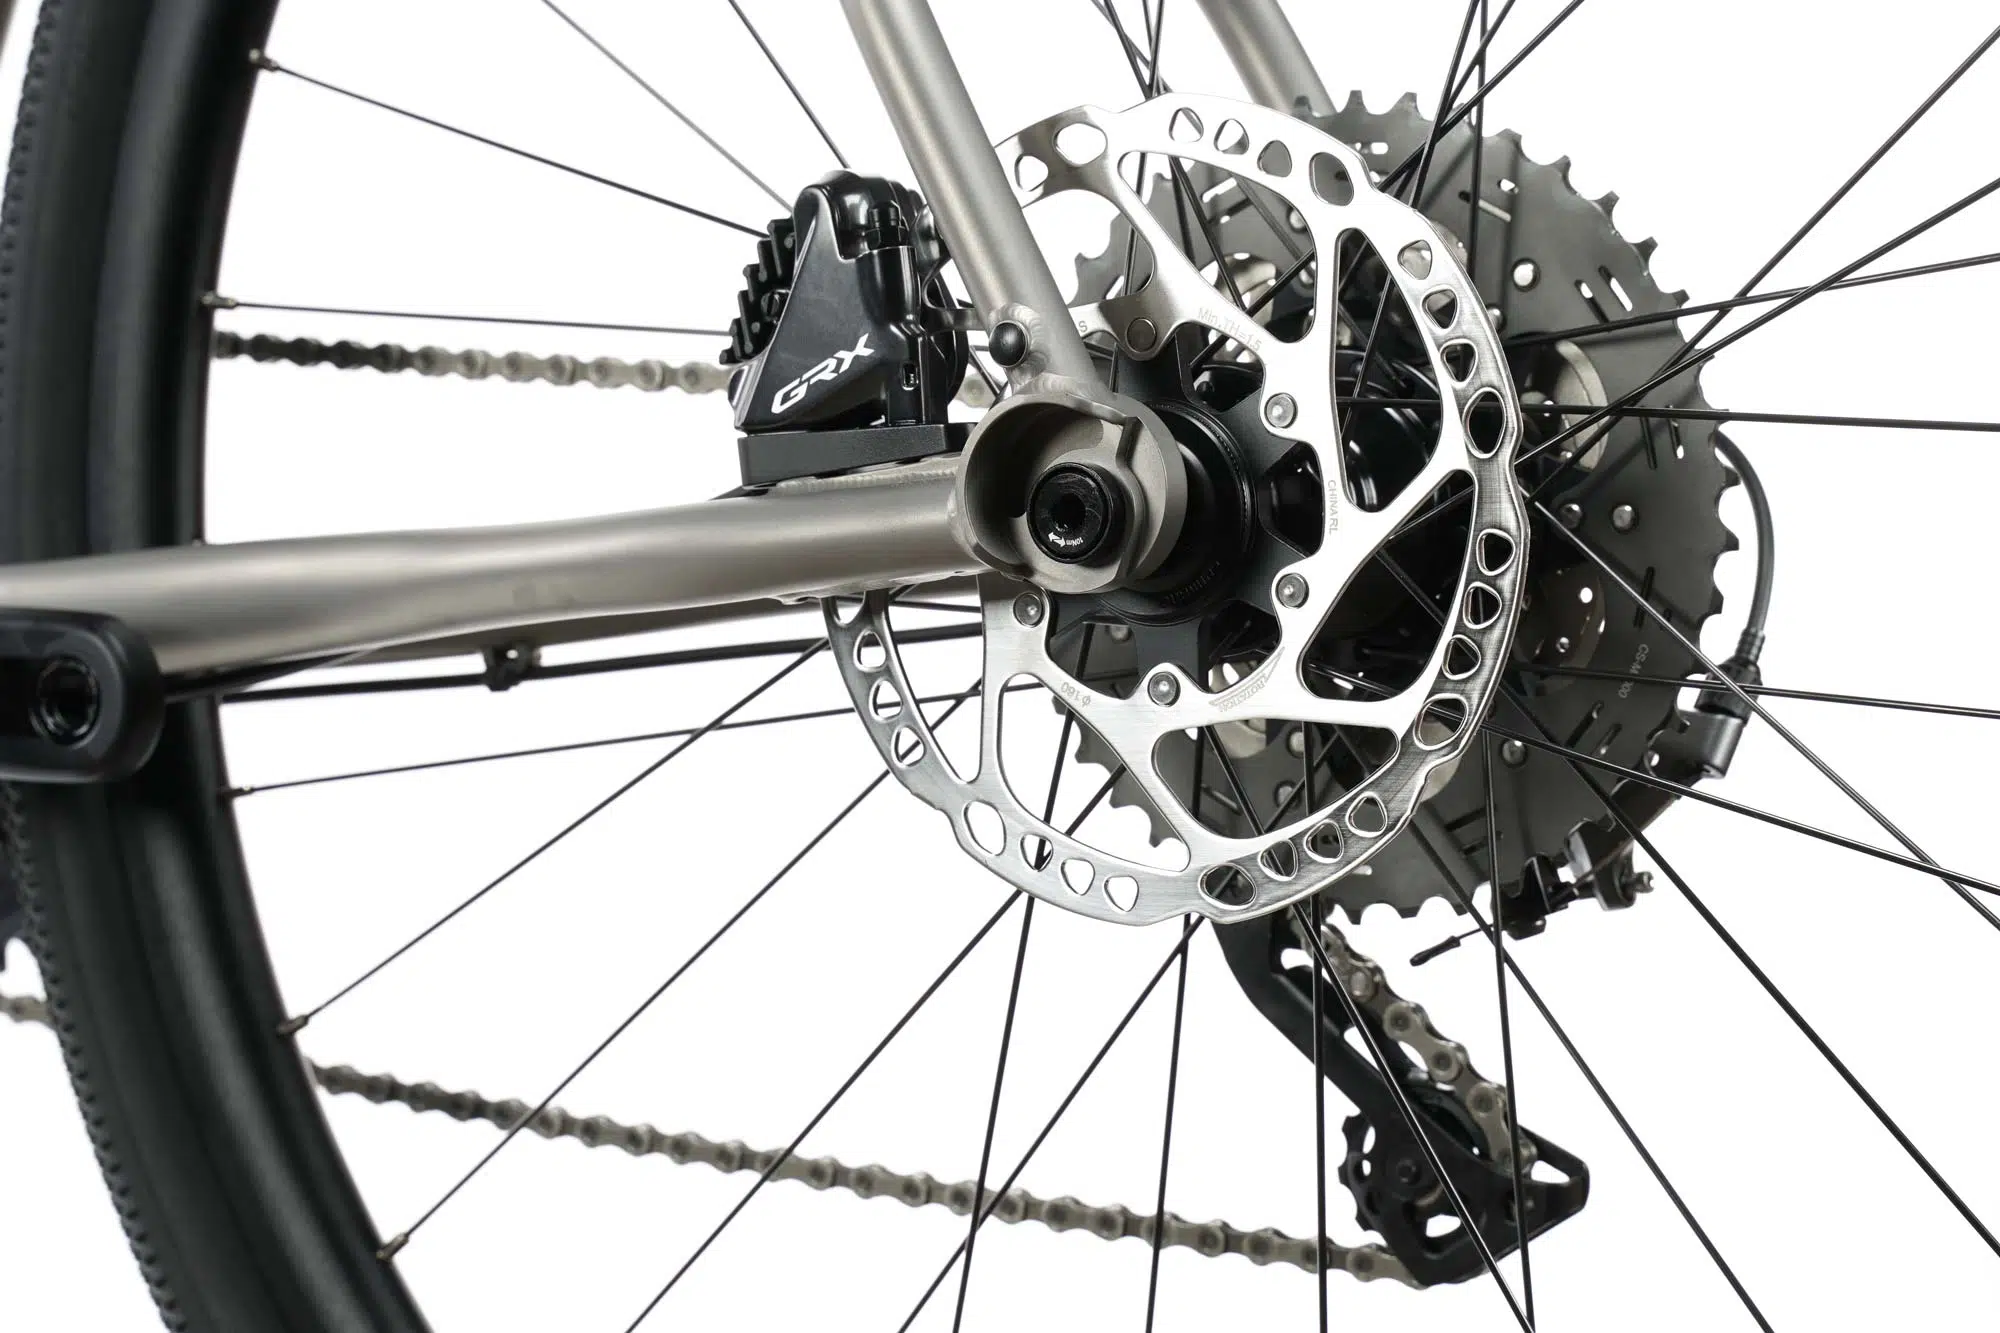
Brakes
Only disc brakes with a flat mount can be used. It is not possible to use adapters to fit other brake standards.
The flatmount brake mount on the frame has a height of 10 mm. When using Shimano brakes, we recommend the following bolts for mounting the brake calliper with adapter for 160 mm discs: C (Y8N208000) and C2 (Y2J708000). You can also use a little screw adhesive on the threads for a secure fit.
The maximum size of the brake disks on the fork and frame must not exceed 160 mm.
Note model year 2025: For frame sizes XS and S, the brake mount is FM140, from frame height M to XXL FM160 (no adapter is required for mounting the brake).
Seat post
When fitting the seatpost, ensure that the required diameter of 27.2 mm is used. Before fitting the seatpost, check the inside of the seat tube for sharp edges and residue to avoid scratching the seatpost. Despite preparation by us, it cannot be ruled out that production-related residues may remain.
Use assembly grease when using an aluminum seatpost or carbon assembly paste for a carbon seatpost. The supplied clamp with 4 mm or 5 mm Allen key and max. Tighten to 5 Nm.
Bottle holder
Please screw any bottle holder screws with max. 5 Nm when using bottle holders.
Changeable derailleur hanger
The derailleur hanger is supplied with the bike and must be fitted to the dropout on receipt using a 3 mm Allen key and approx. 4 Nm. If you need a replacement, you can purchase a new Schaltage directly from us.
Mounting pannier rack / mudguards
Please pay attention to the max. weight of the luggage carrier when mounting it. 5 Nm torque at the attachment points, the maximum load of 25 kg per rack on the frame and the instructions supplied by the manufacturers.
You are welcome to close unused threads with the plastic caps supplied.
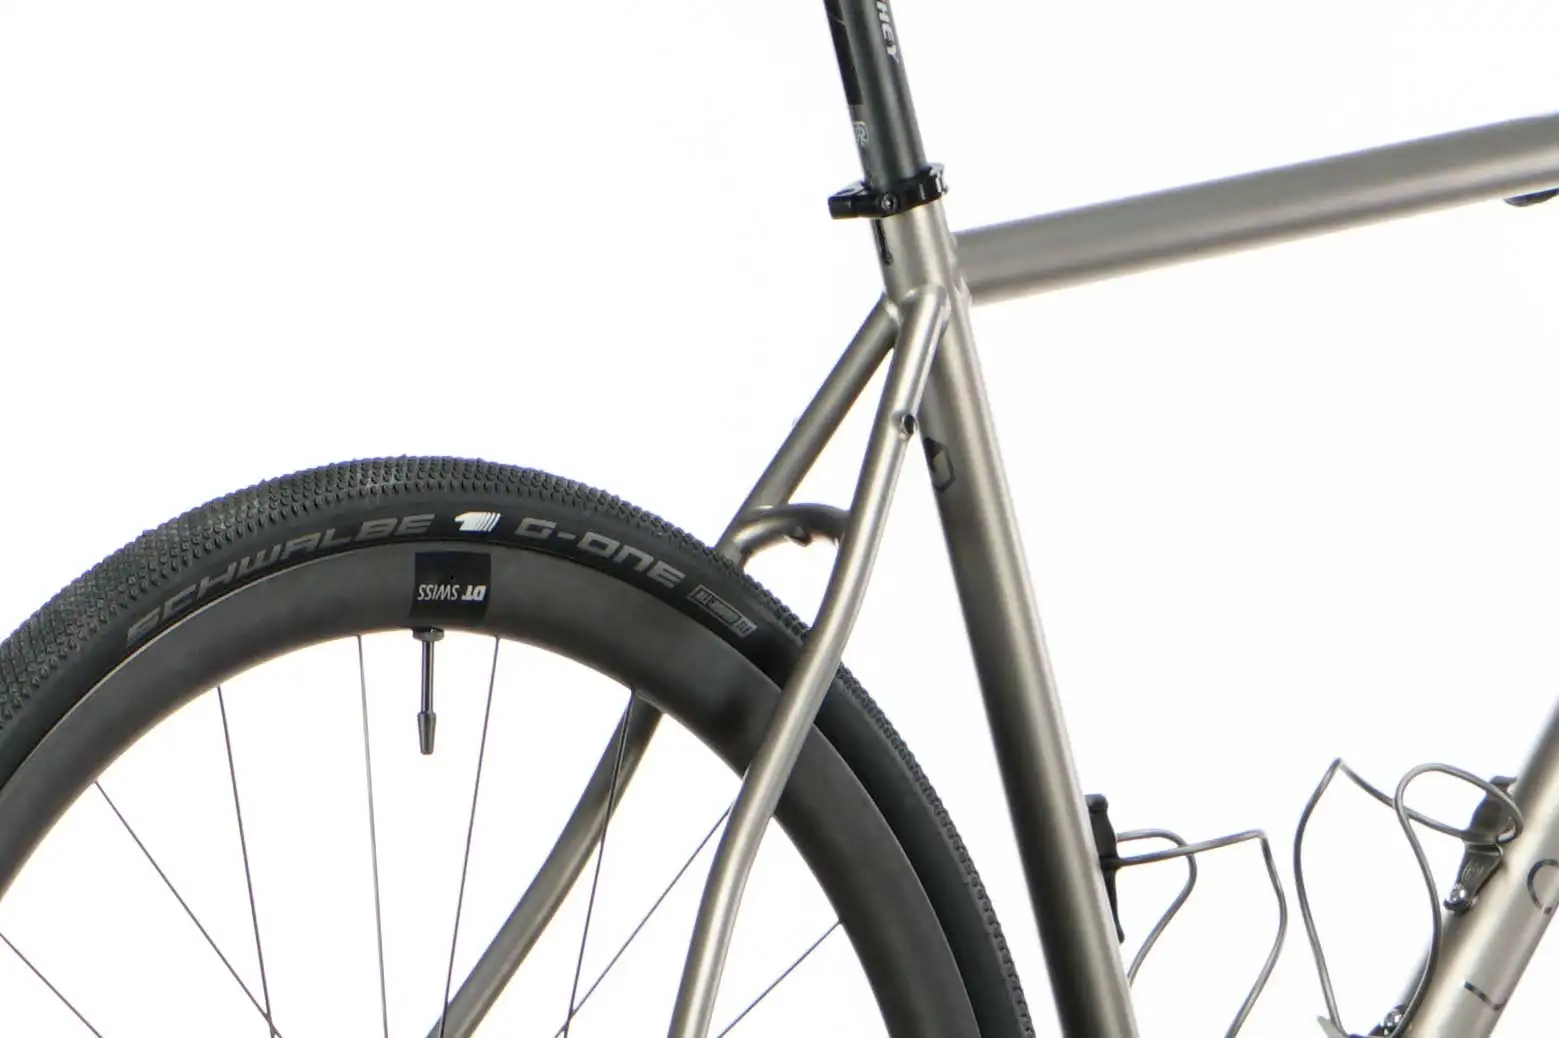
If you equip the frame (and fork) with mudguards, please observe the maximum width of 40 mm when used with 28″ wheels and the instructions of the mudguard manufacturer.
If you are using veloheld mudguards, you can find the fitting instructions here:
Warrantyinformation
Without limiting the statutory warranty rights of the customer we voluntarily grant our customers a guarantee under the following conditions:We grant our customers a warranty totalling 5 years from the date of purchase on veloheld frames and veloheld forks, with the exception of damage to the paintwork if registered via our website within our website within 3 months of purchase (as indicated on the purchase form ).
Classification
Bikes in Category 2 are designed for well-paved paths and ensure constant contact with the ground. These bikes are primarily intended for urban mobility, making them ideal for use in road traffic and on public or authorized paths. This category includes urban bikes, city bikes, trekking bikes, and gravel bikes. The maximum allowable total weight, consisting of the rider, luggage, and bicycle, should not exceed 120 kg. Please note that this maximum weight may be further restricted depending on the usage recommendations of the component manufacturers.
Note
Subject to technical changes, errors and omissions.

Note: Subject to technical changes, errors and omissions.
Do you still have questions?
Are you unsure about the structure? Do you have questions about the individual steps? Or do you need help in general? Contact us or get in touch with a professional two-wheeler specialist!
0351 212 952 95
Mon. - Fri. 10:00 - 17:00 O'CLOCK
