


Please note that due to the large number of components available on the market, we cannot provide a complete overview of all options in this manual and therefore cannot be held liable for incorrect combinations.
Therefore, when assembling your new veloheld frameset, please contact a professional bicycle workshop to ensure the compatibility of the parts in advance and carefully check the technical data of the parts manufacturer before assembly.
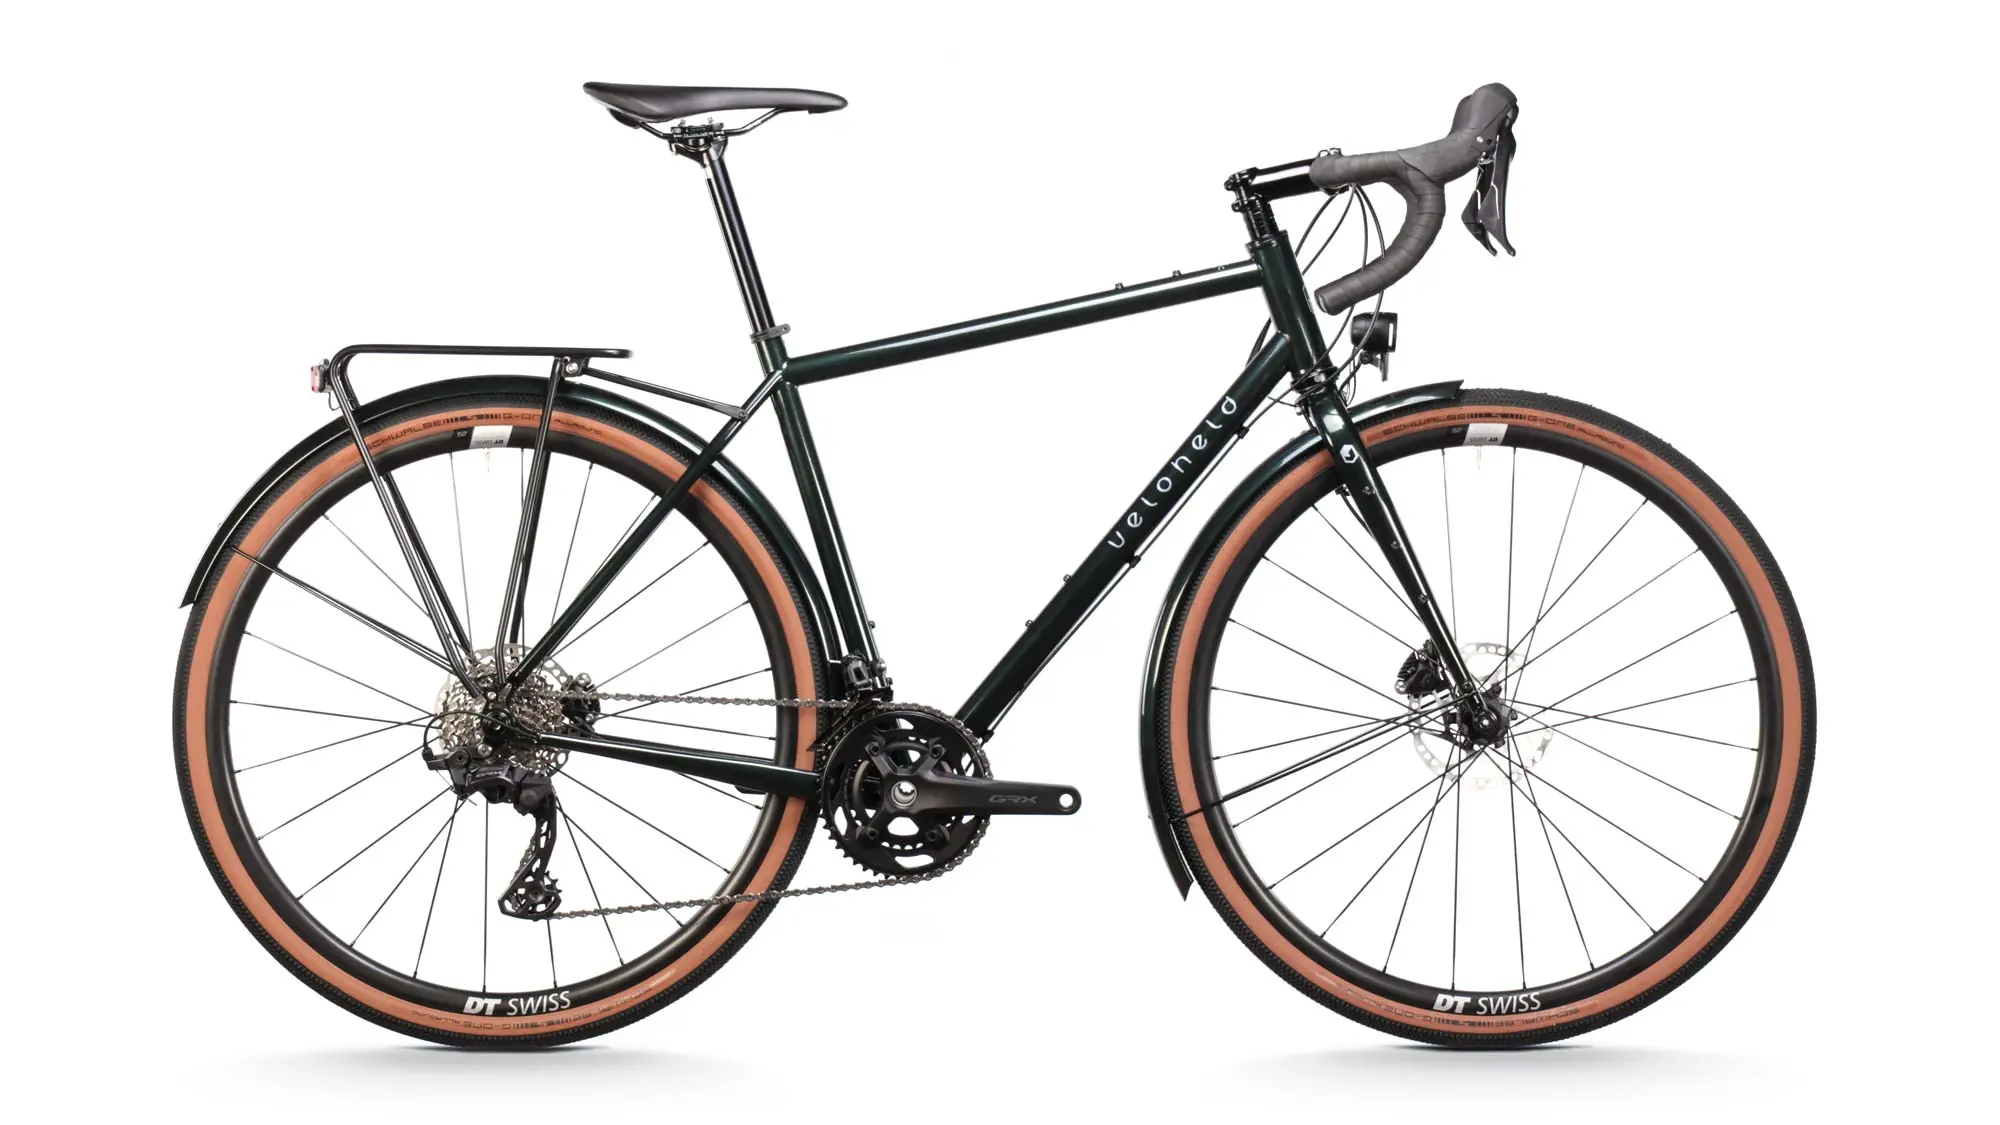
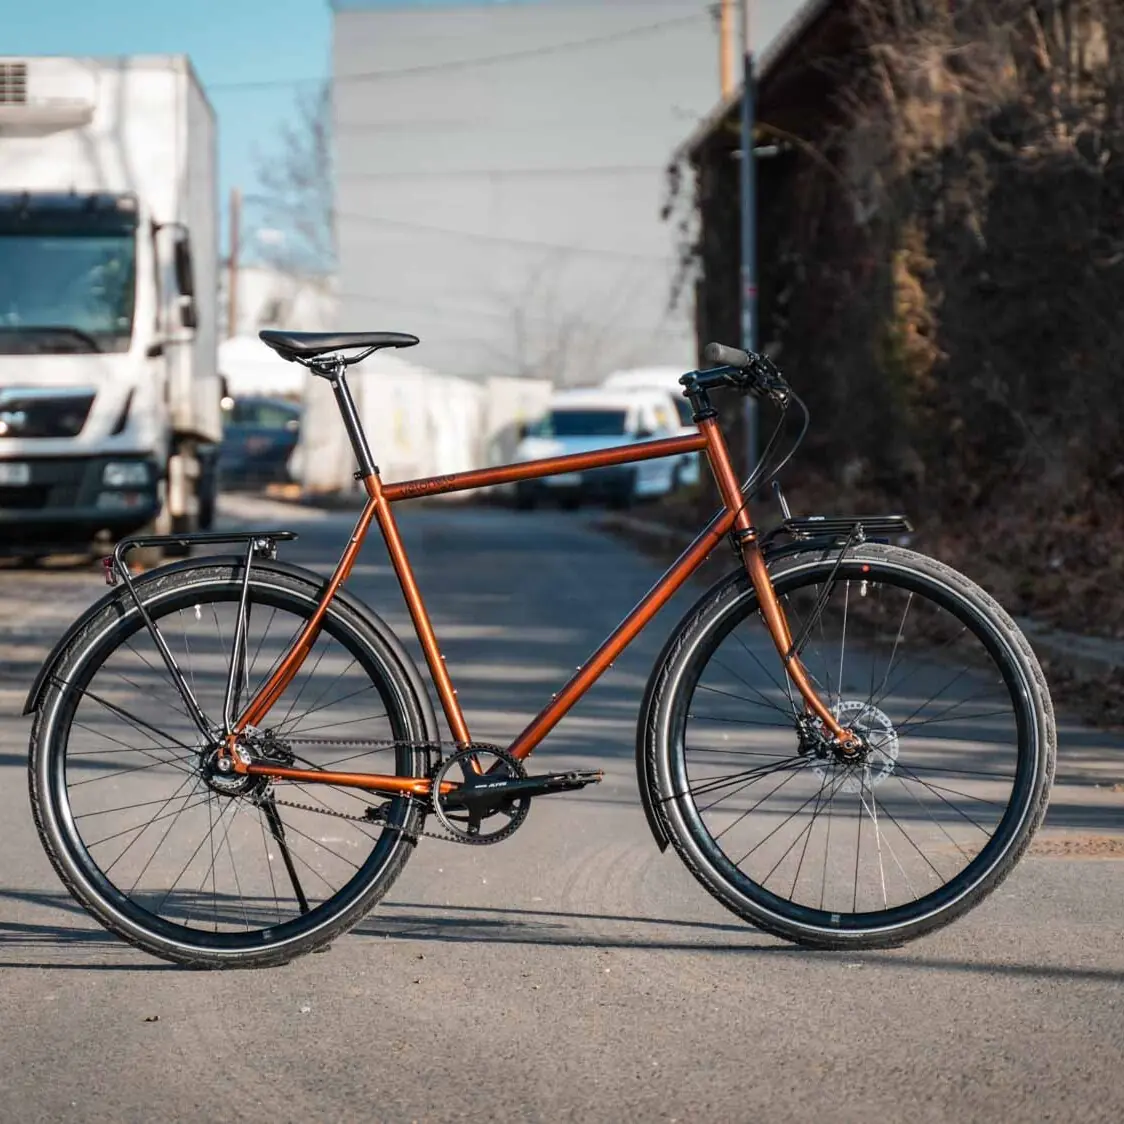
Classification veloheld.lane
For riding on paved roads, such as asphalt roads and cycle paths, paved forest roads, field paths and hiking trails where there are few or no obstacles such as roots, thresholds, stones and steps. The wheels are in constant contact with the ground or may briefly lose contact with the ground due to minor bumps. This category includes urban and city bikes as well as cyclocross bikes with racing handlebars.
1st frame set
The frame and fork are ready for assembly when purchased directly from veloheld, i.e. the threads are cut and the bearing seats and seat tube are reamed out. It is not necessary to rework the frame for further assembly.
Fit all other attachments to the frame using high-quality assembly grease and the appropriate torques with a torque wrench. This prevents corrosion and even after years of use, these parts can still be properly dismantled.
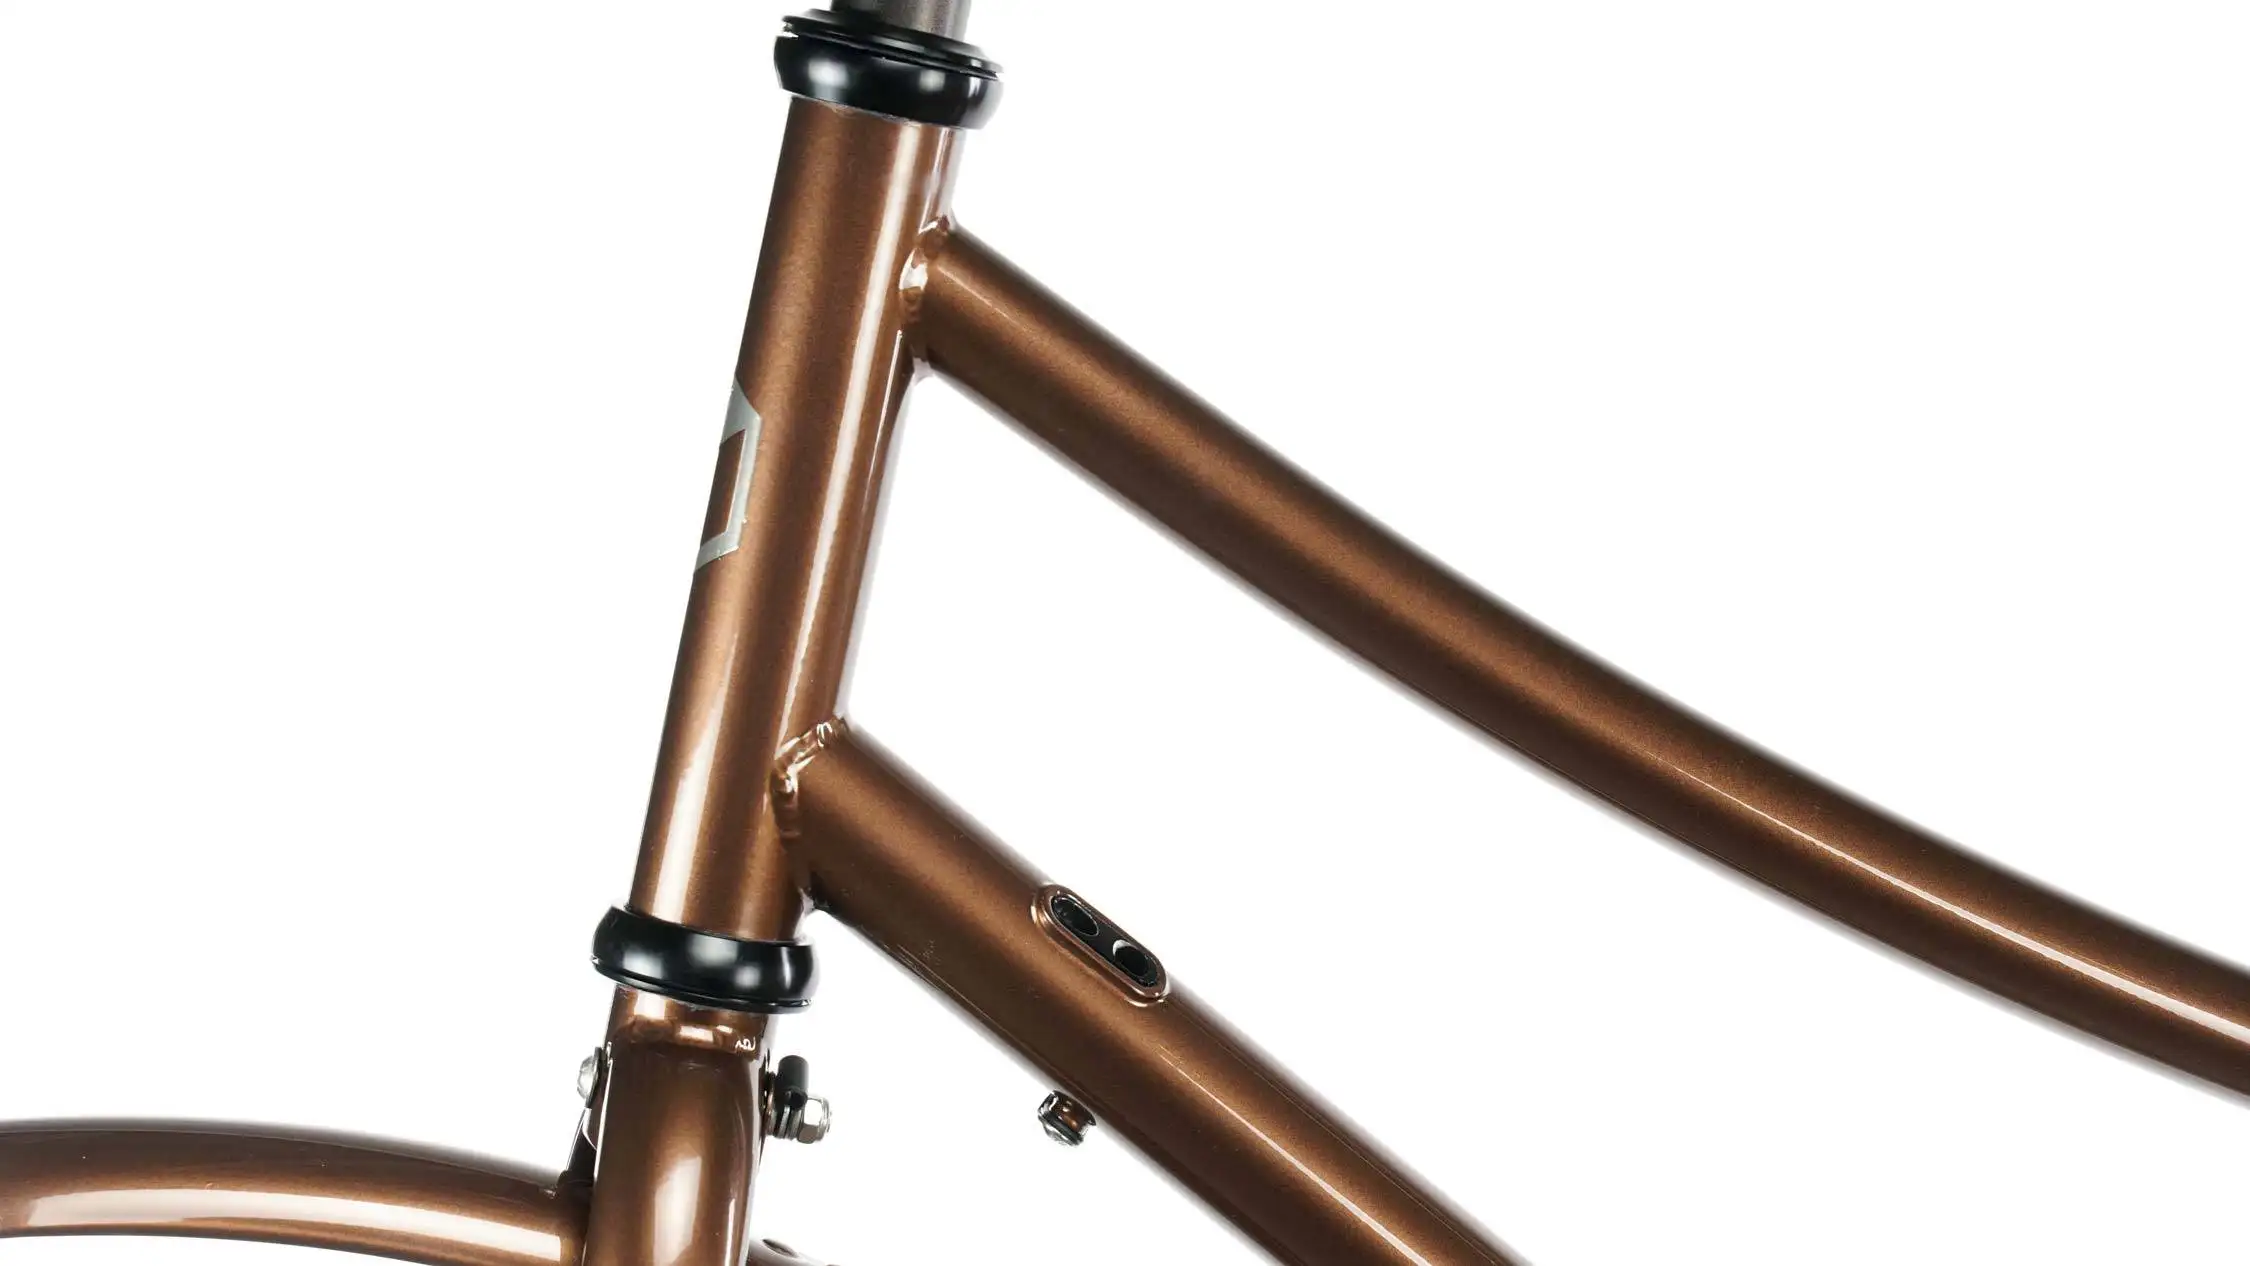
2. fork and headset
The fork is supplied with the bike and must be inserted after shortening the steerer tube to the desired stem height. The headset is already pressed in and must be finally assembled when the fork is fitted.
Attention
If in doubt, please ask a professional bike store to help you shorten the fork to ensure the correct length and safety of the steerer tube.
3. drive options and the EBB (eccentric bottom bracket housing)
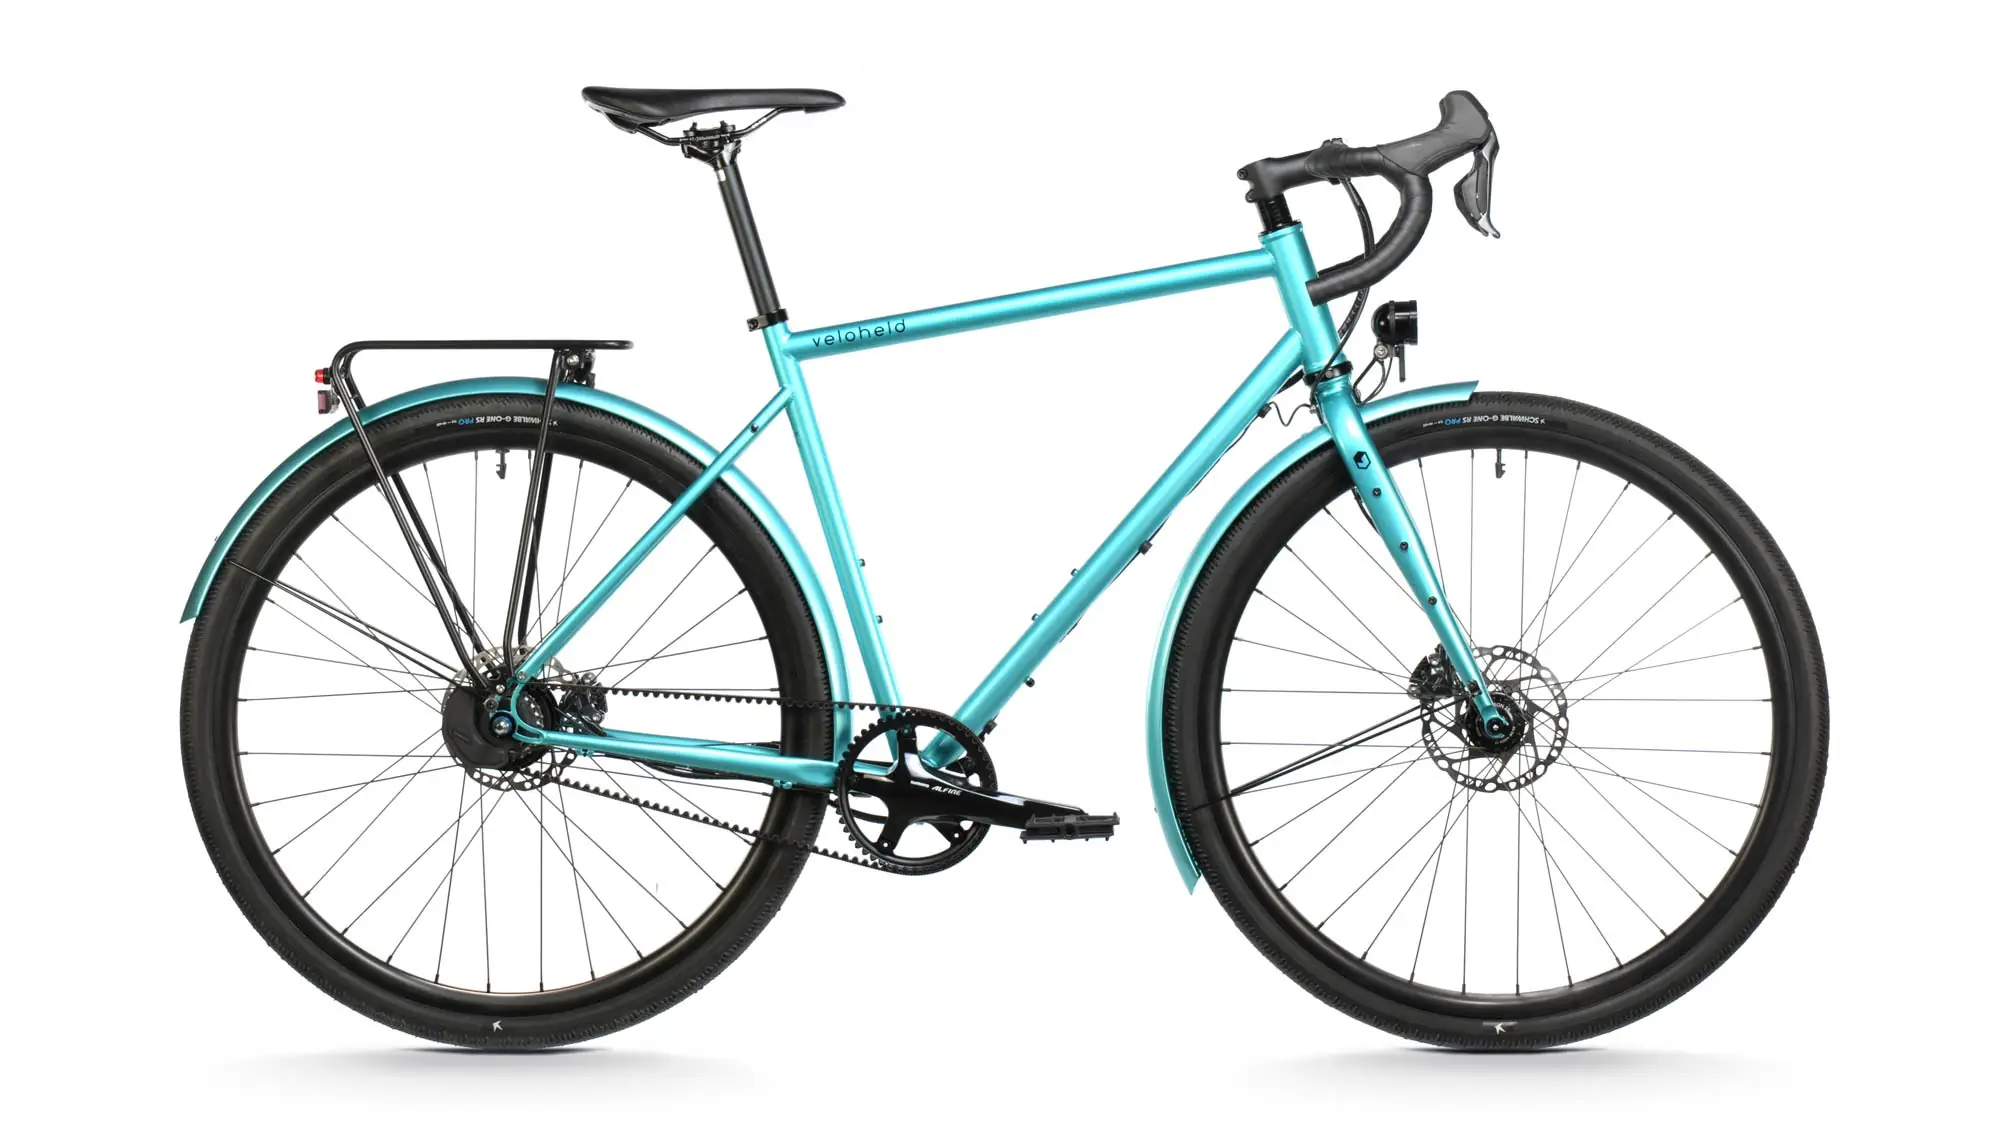
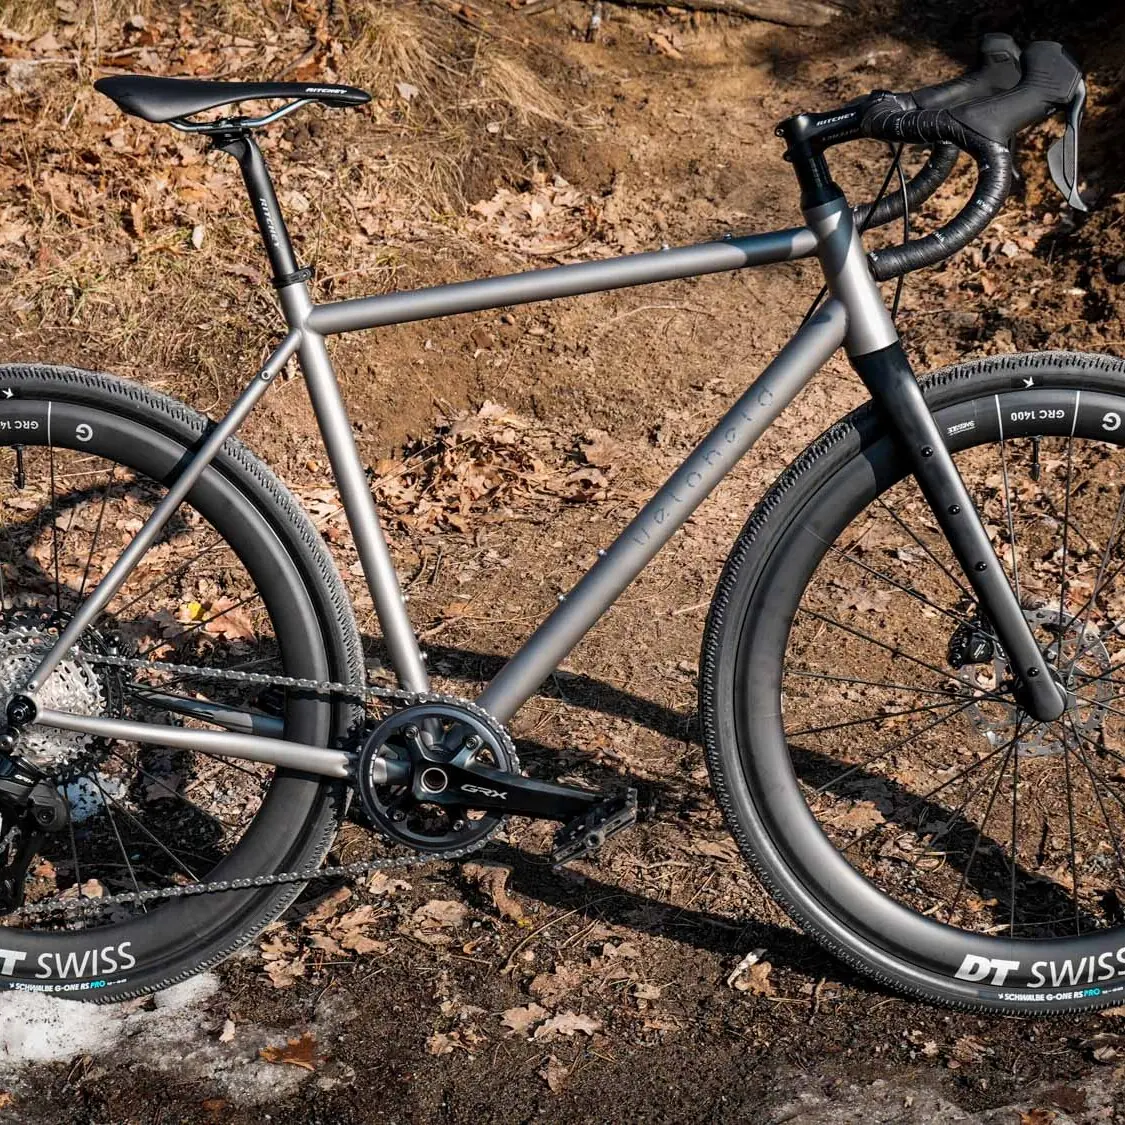
The frame can be equipped with a classic chain drive or a low-maintenance Gates Carbon Drive belt drive. You can choose whether you want to ride it as a singlespeed, hub gear or derailleur bike. The chain or belt is tensioned via the eccentric bottom bracket housing (EBB for short). Below you will find some more information on various drive options.
Please pay attention to the correct chain or belt line, which you will find in the documentation of the desired crank or hub manufacturer. The chain or belt tension is set via the EBB. You can find out how to adjust and maintain it here.
Attention
You can install the supplied insert for the dropout without derailleur hanger or the insert with derailleur hanger before inserting the wheel.
Please also pay attention here to the correct chain or belt line, which you will find in the documentation of the desired hub manufacturer and, if using the Gates belt, also there.
The chain or belt tension is set via the EBB. You can find out how to adjust and maintain it here.
Attention
Please install the supplied insert for the dropout without derailleur hanger before inserting the wheel.
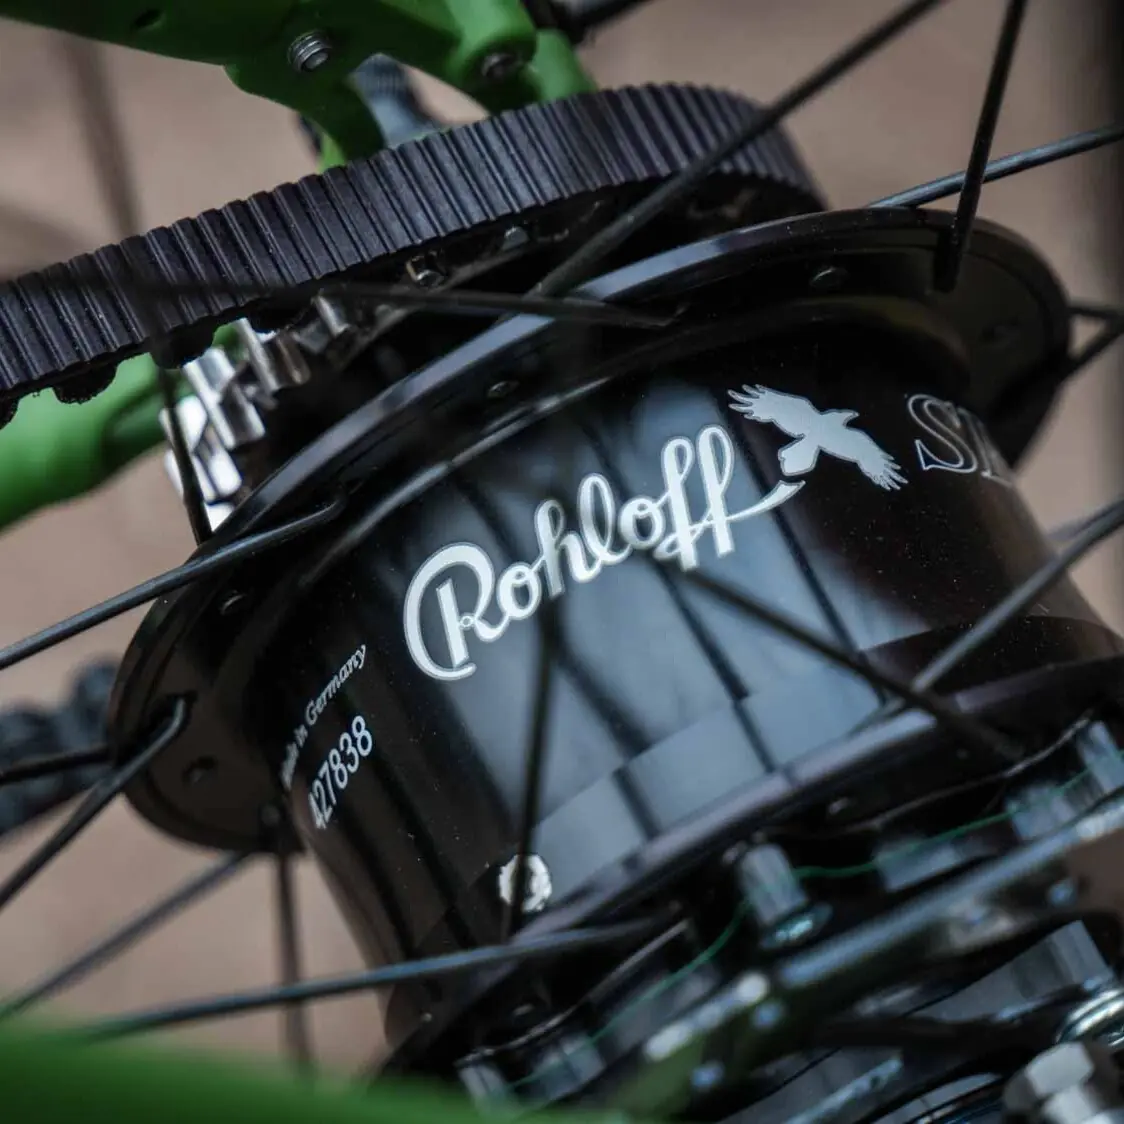
When using the Gates Snubber in conjunction with a Rohloff or Shimano hub, the insert must be fitted with a derailleur hanger.
Attention
When using a Rohloff Speedhub, torque support can be provided via a Rohloff OEM2 axleplate directly to the mudguard eyelet of the dropout using the Rohloff torque support nut.
If you are using a derailleur bike with a front derailleur, you can adjust the EBB in line with the seat tube to ensure optimum functioning of the front derailleur. If you are not using a front derailleur, the EBB can be adjusted to suit your perfect riding position.
Attention
Before mounting the rear derailleur, please install the supplied insert for the dropout with derailleur hanger.
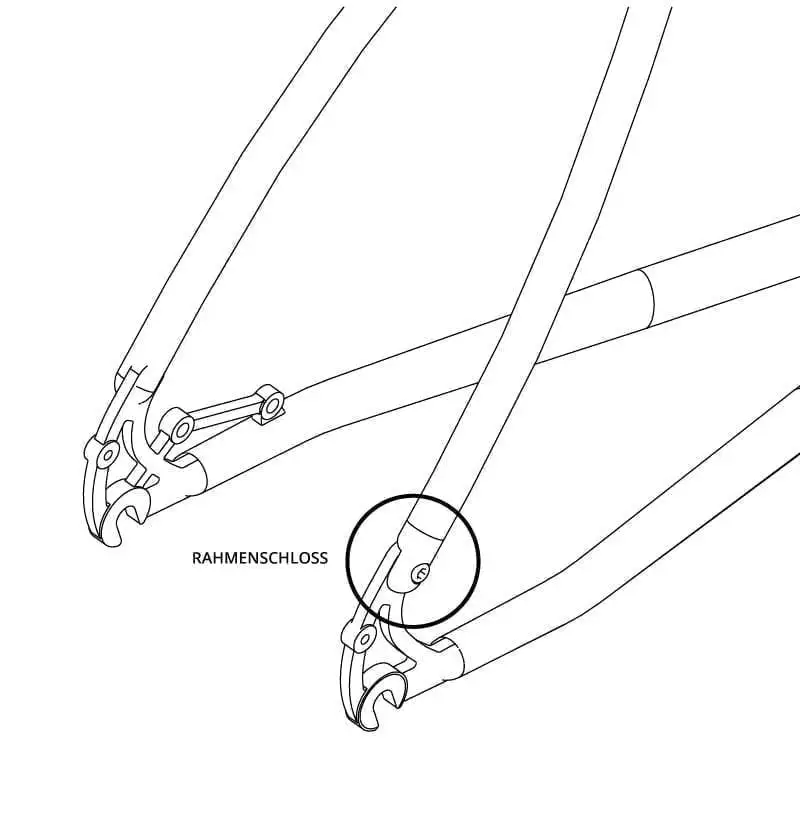
4. frame lock for Gates Carbon Drive belt drive
If you want to set up the frame with a Gates Carbon Drive belt drive, you will find the frame lock on the seat stay at the transition to the dropout in order to open the rear frame triangle and insert or change the belt there.
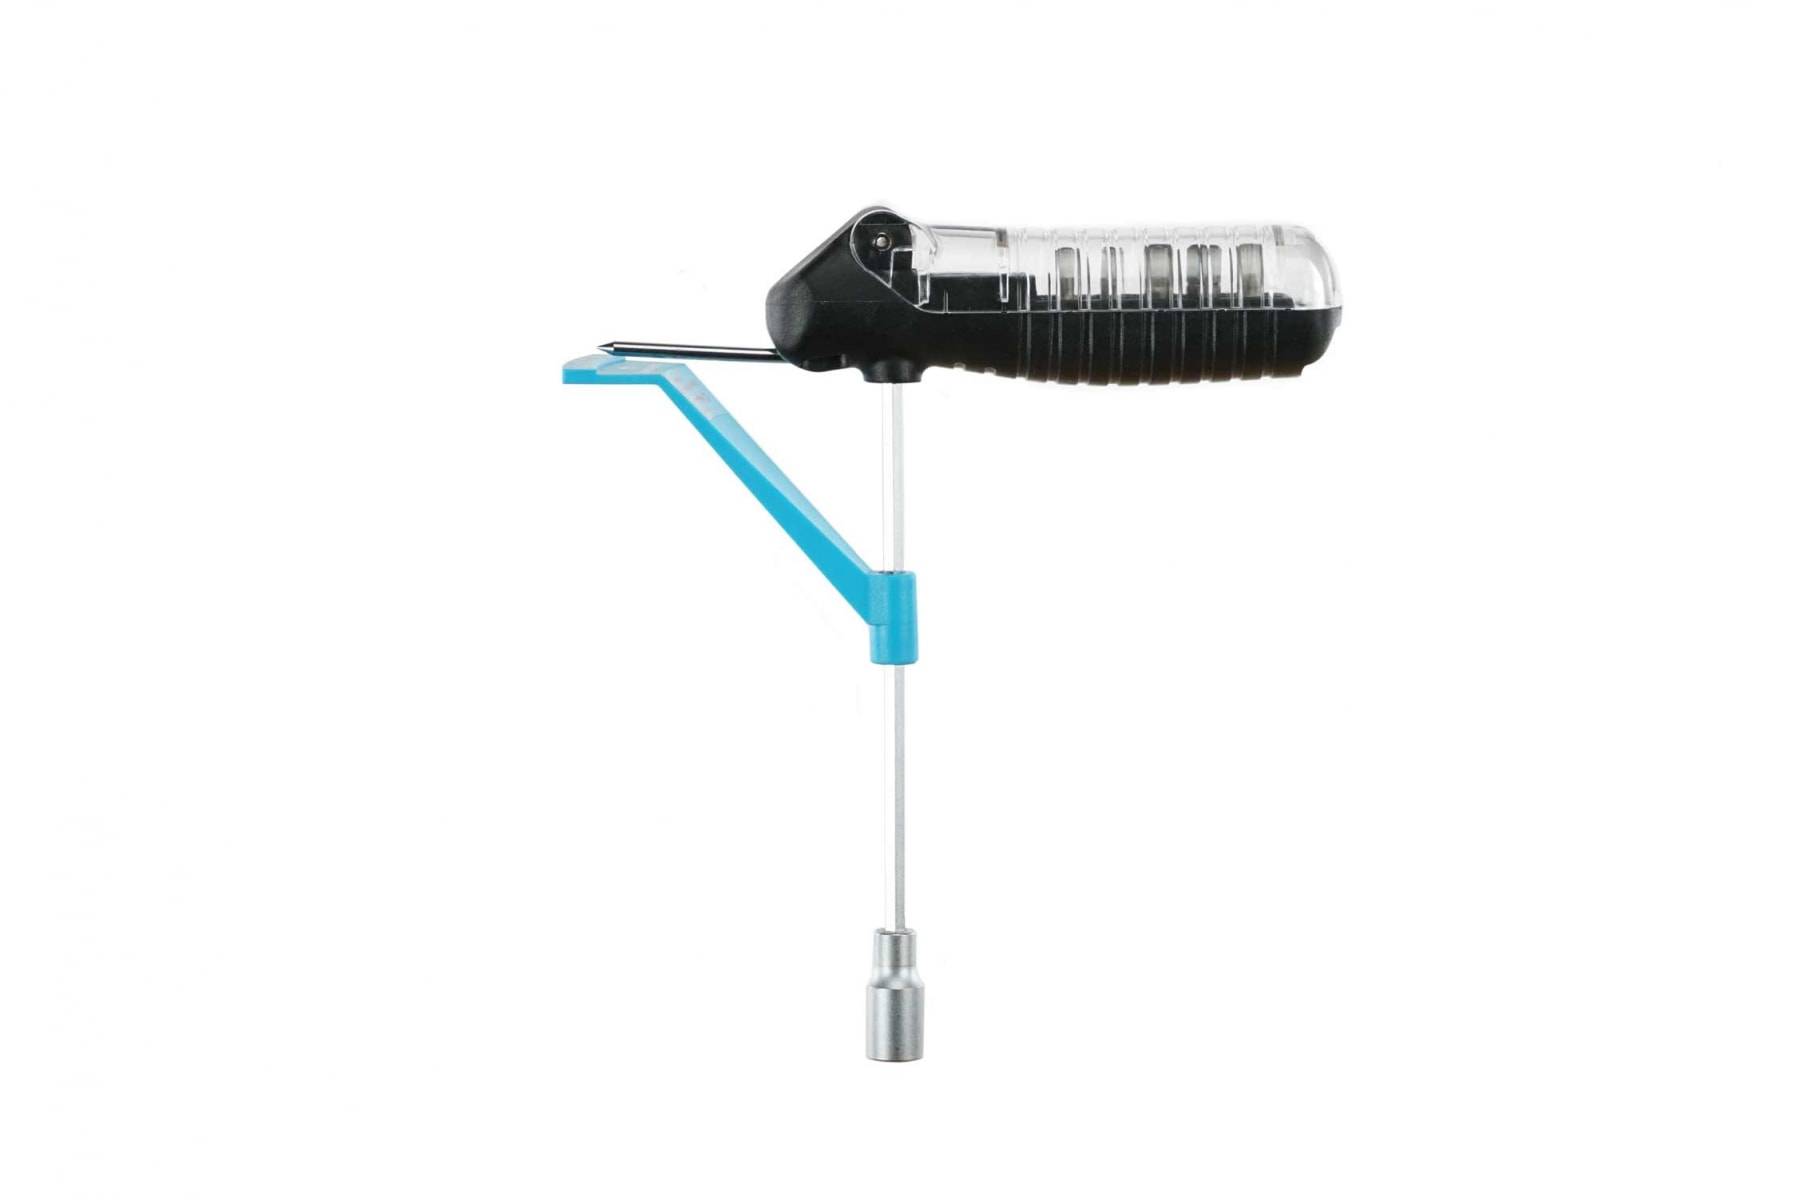
To open the frame lock, a 4 mm Allen key is required to loosen the screw in the frame.
The belt can now be removed or inserted. To do this, the chain stay must be carefully bent outwards. Thanks to the flexibility of the steel frame, this can be achieved without damaging the frame. However, please make sure that the gap is only wide enough to allow the belt to pass through. Make sure you have a second person to help you so that the belt does not get jammed or bent during installation. This could damage it and cause the belt to fail/tear during further use.
Once the new belt is in the frame, the M5 bolt can be tightened again carefully and with max. torque. 5 - 6 Nm torque.
5. train routing
Hubs and derailleurs without front derailleur
All gear and brake cables can be routed internally in the down tube. The plastic guides required for insertion into the down tube openings are included.
Derailleur with front derailleur and Rohloff
You can route the shift cable internally in the down tube and the brake cable externally through the supplied cable guides, which are screwed into the threads in the down tube with approx. 3 Nm.
The 2 shift cables of the Rohloff hub must then be attached to the brake cable guide on the left chain stay with a sufficiently strong cable tie.
6. mudguards
All information on fitting mudguards can be found here:
7. brakes
The frame and fork have an IS 2000 mount, which can accommodate a post mount brake system with adapters.
The maximum permissible brake disk size is 160 mm at the front and rear.
8. seat post
When fitting the seatpost, ensure that the required diameter of 27.2 mm is used. Before fitting the seatpost, check the inside of the seat tube for sharp edges and residue to avoid scratching the seatpost. Despite preparation by us, it cannot be ruled out that production-related residues may remain.
Use assembly grease when using an aluminum seatpost or carbon assembly paste for a carbon seatpost. The supplied clamp with 4 mm Allen key and max. Tighten to 5 Nm.
The maximum brake disk size is 180 mm at the front and 160 mm at the rear.
9. bottle holder
Please screw any bottle holder screws with max. 5 Nm when using bottle holders.
10. interchangeable derailleur hanger
The derailleur hanger has not yet been fitted for shipping reasons. It is fastened with a 2 mm Allen key and max. 3 Nm installed in the dropout.
11. mounting luggage carrier
When mounting the luggage carrier, please pay attention to max. 5 Nm torque at the attachment points, the maximum load of 25 kg per rack on the frame and a maximum of 10 kg on the fork and the instructions supplied by the manufacturers.
12. mounting stand
A KSA 18 kickstand can be attached directly to the left dropout. Please observe the information provided by the respective manufacturer for correct installation and use.
13. warranty information
Without limiting the customer's statutory warranty rights, we voluntarily grant our customers a guarantee under the following conditions:
We grant our customers a total warranty of 5 years from the date of purchase on veloheld frames and veloheld forks, with the exception of damage to the paintwork if registered via our website within 3 months of purchase (as stated on the purchase form).
Do you still have questions?
Are you unsure about the structure? Do you have questions about the individual steps? Or do you need help in general? Contact us or get in touch with a professional two-wheeler specialist!
0351 212 952 95
Mon. - Fri. 10:00 - 17:00 O'CLOCK
